How to create your OpenAI Assistant and install it on any website?
In the digital age, where customer support and user interaction are key to success in eCommerce, integrating an AI assistant into your website can revolutionize how you engage with your visitors. This guide offers a comprehensive walkthrough on how to create your own OpenAI Assistant and seamlessly install it on any platform. With the promise of enhancing user experience and providing real-time, intelligent support, this article dives into the simple yet effective process of setting up a personalized assistant.
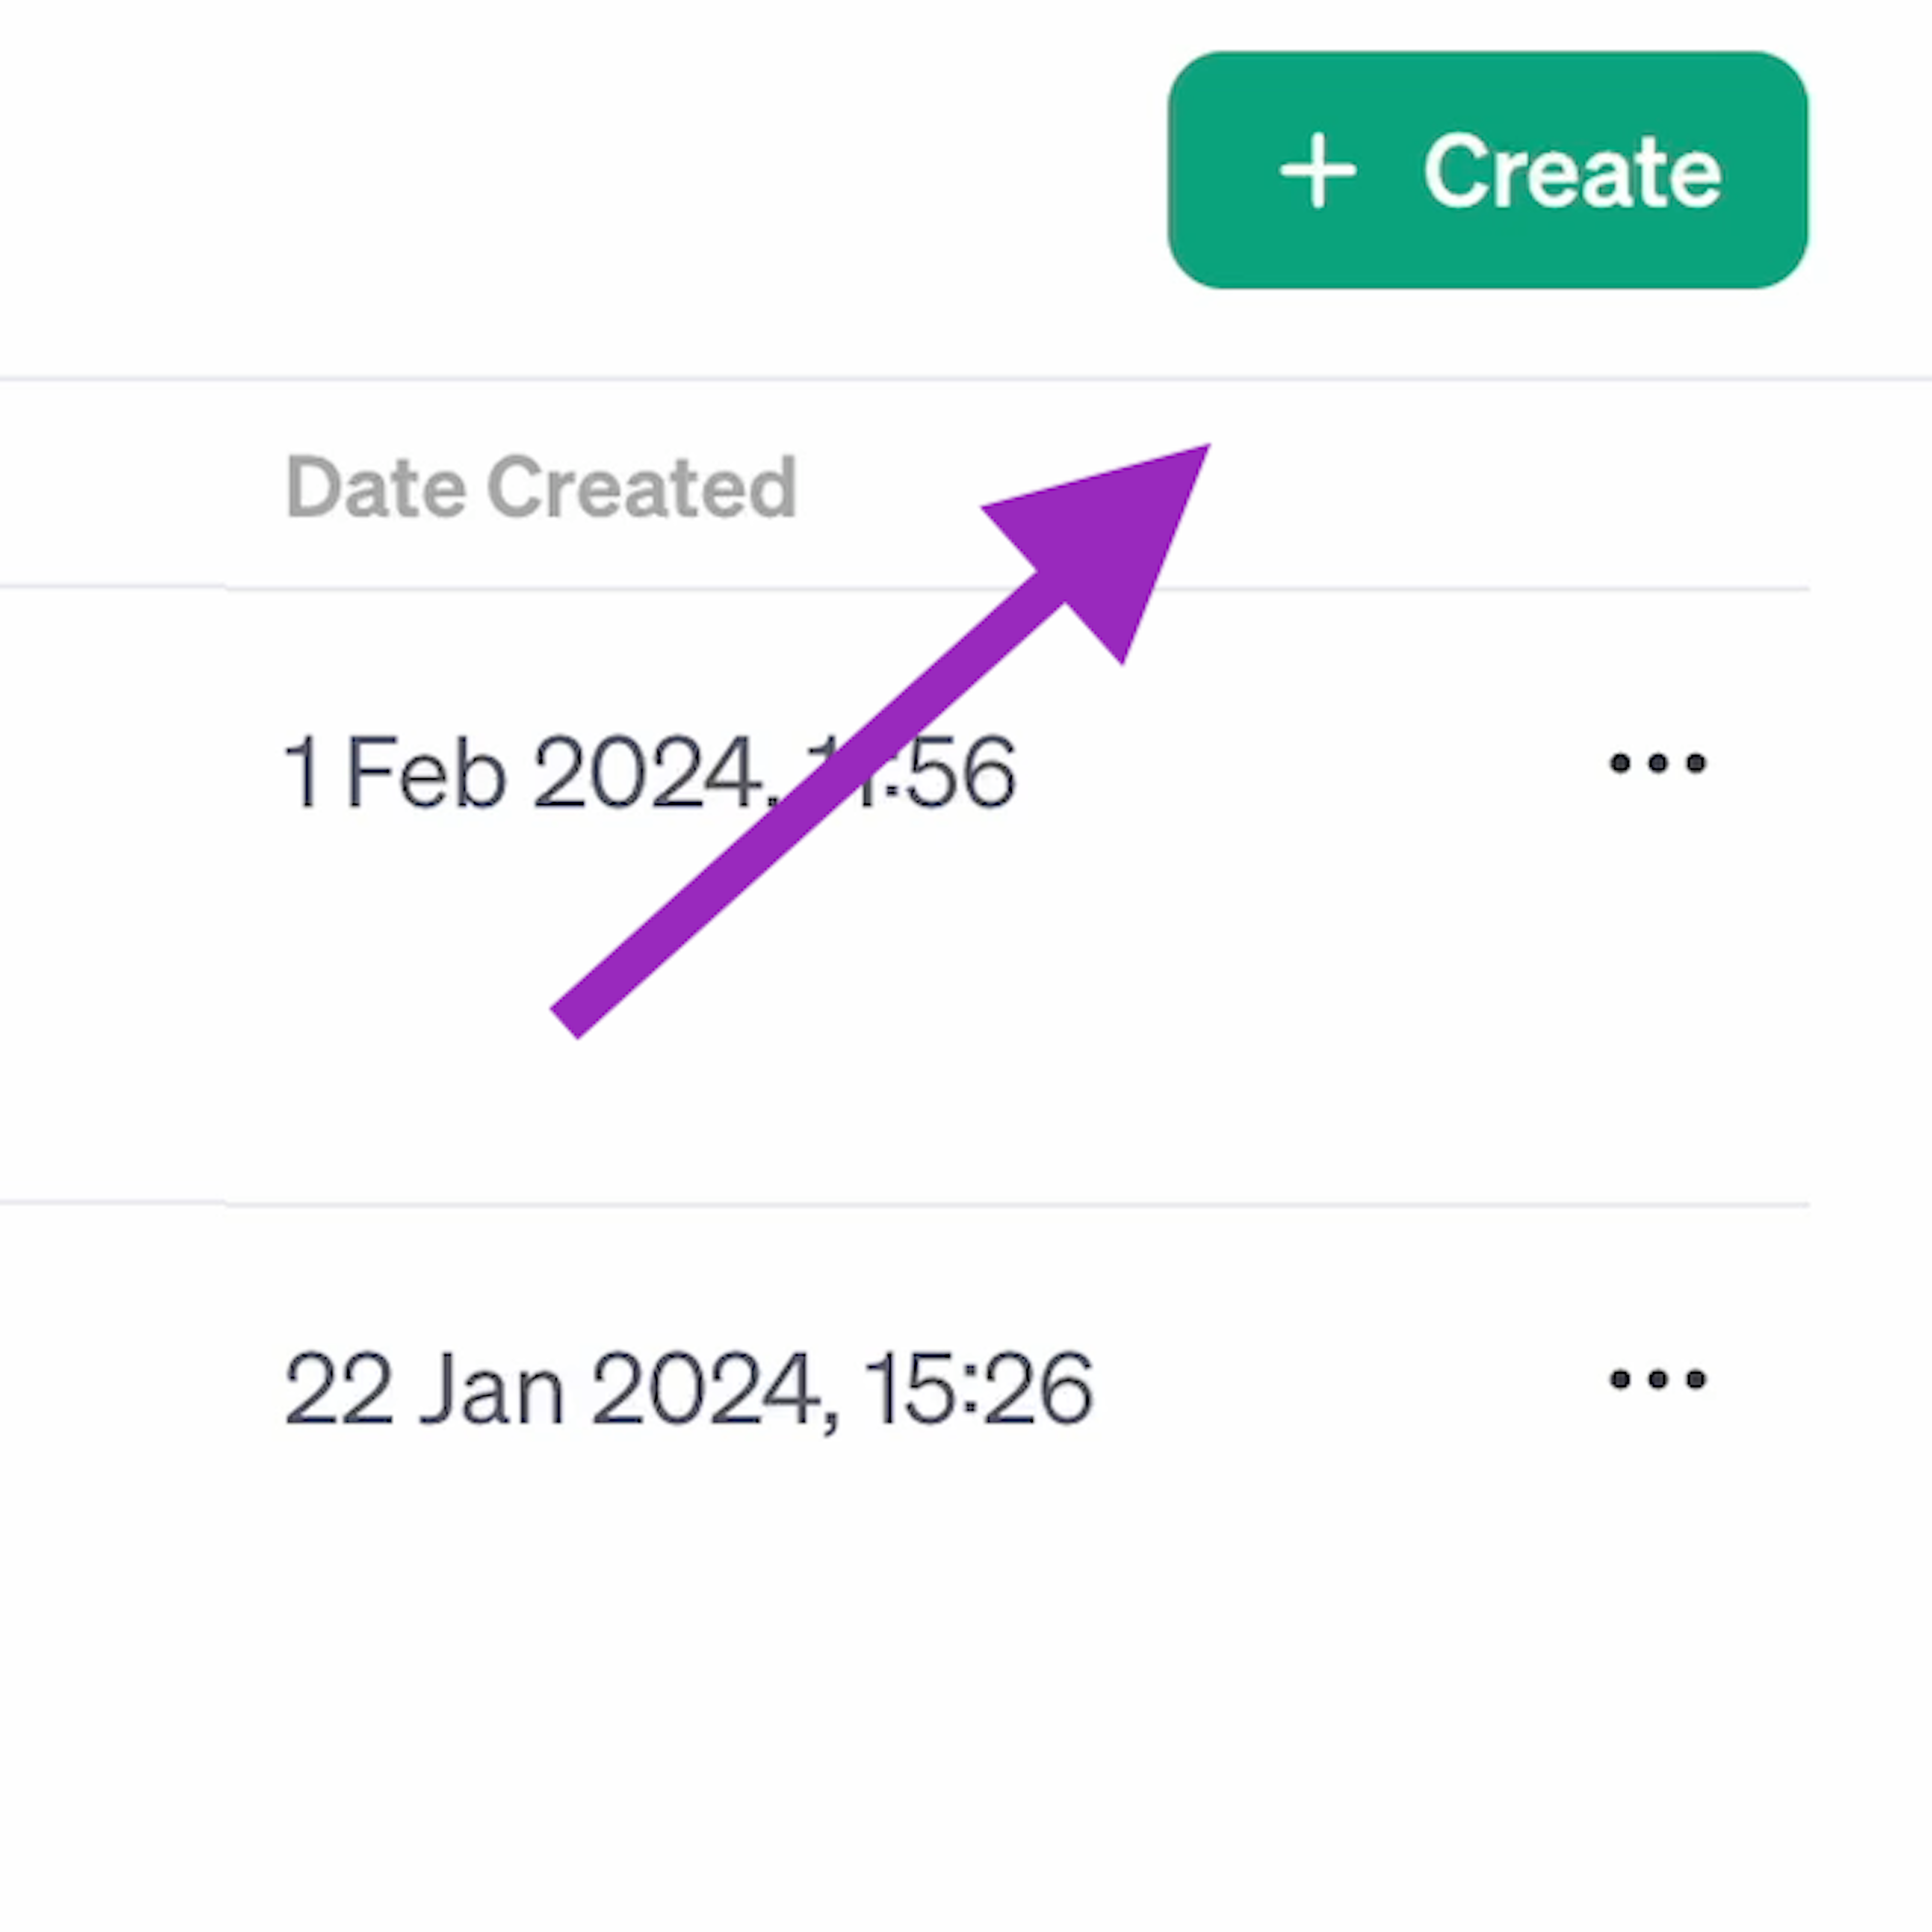
The process of creating your own assistant is pretty simple. All that you need to do is to:
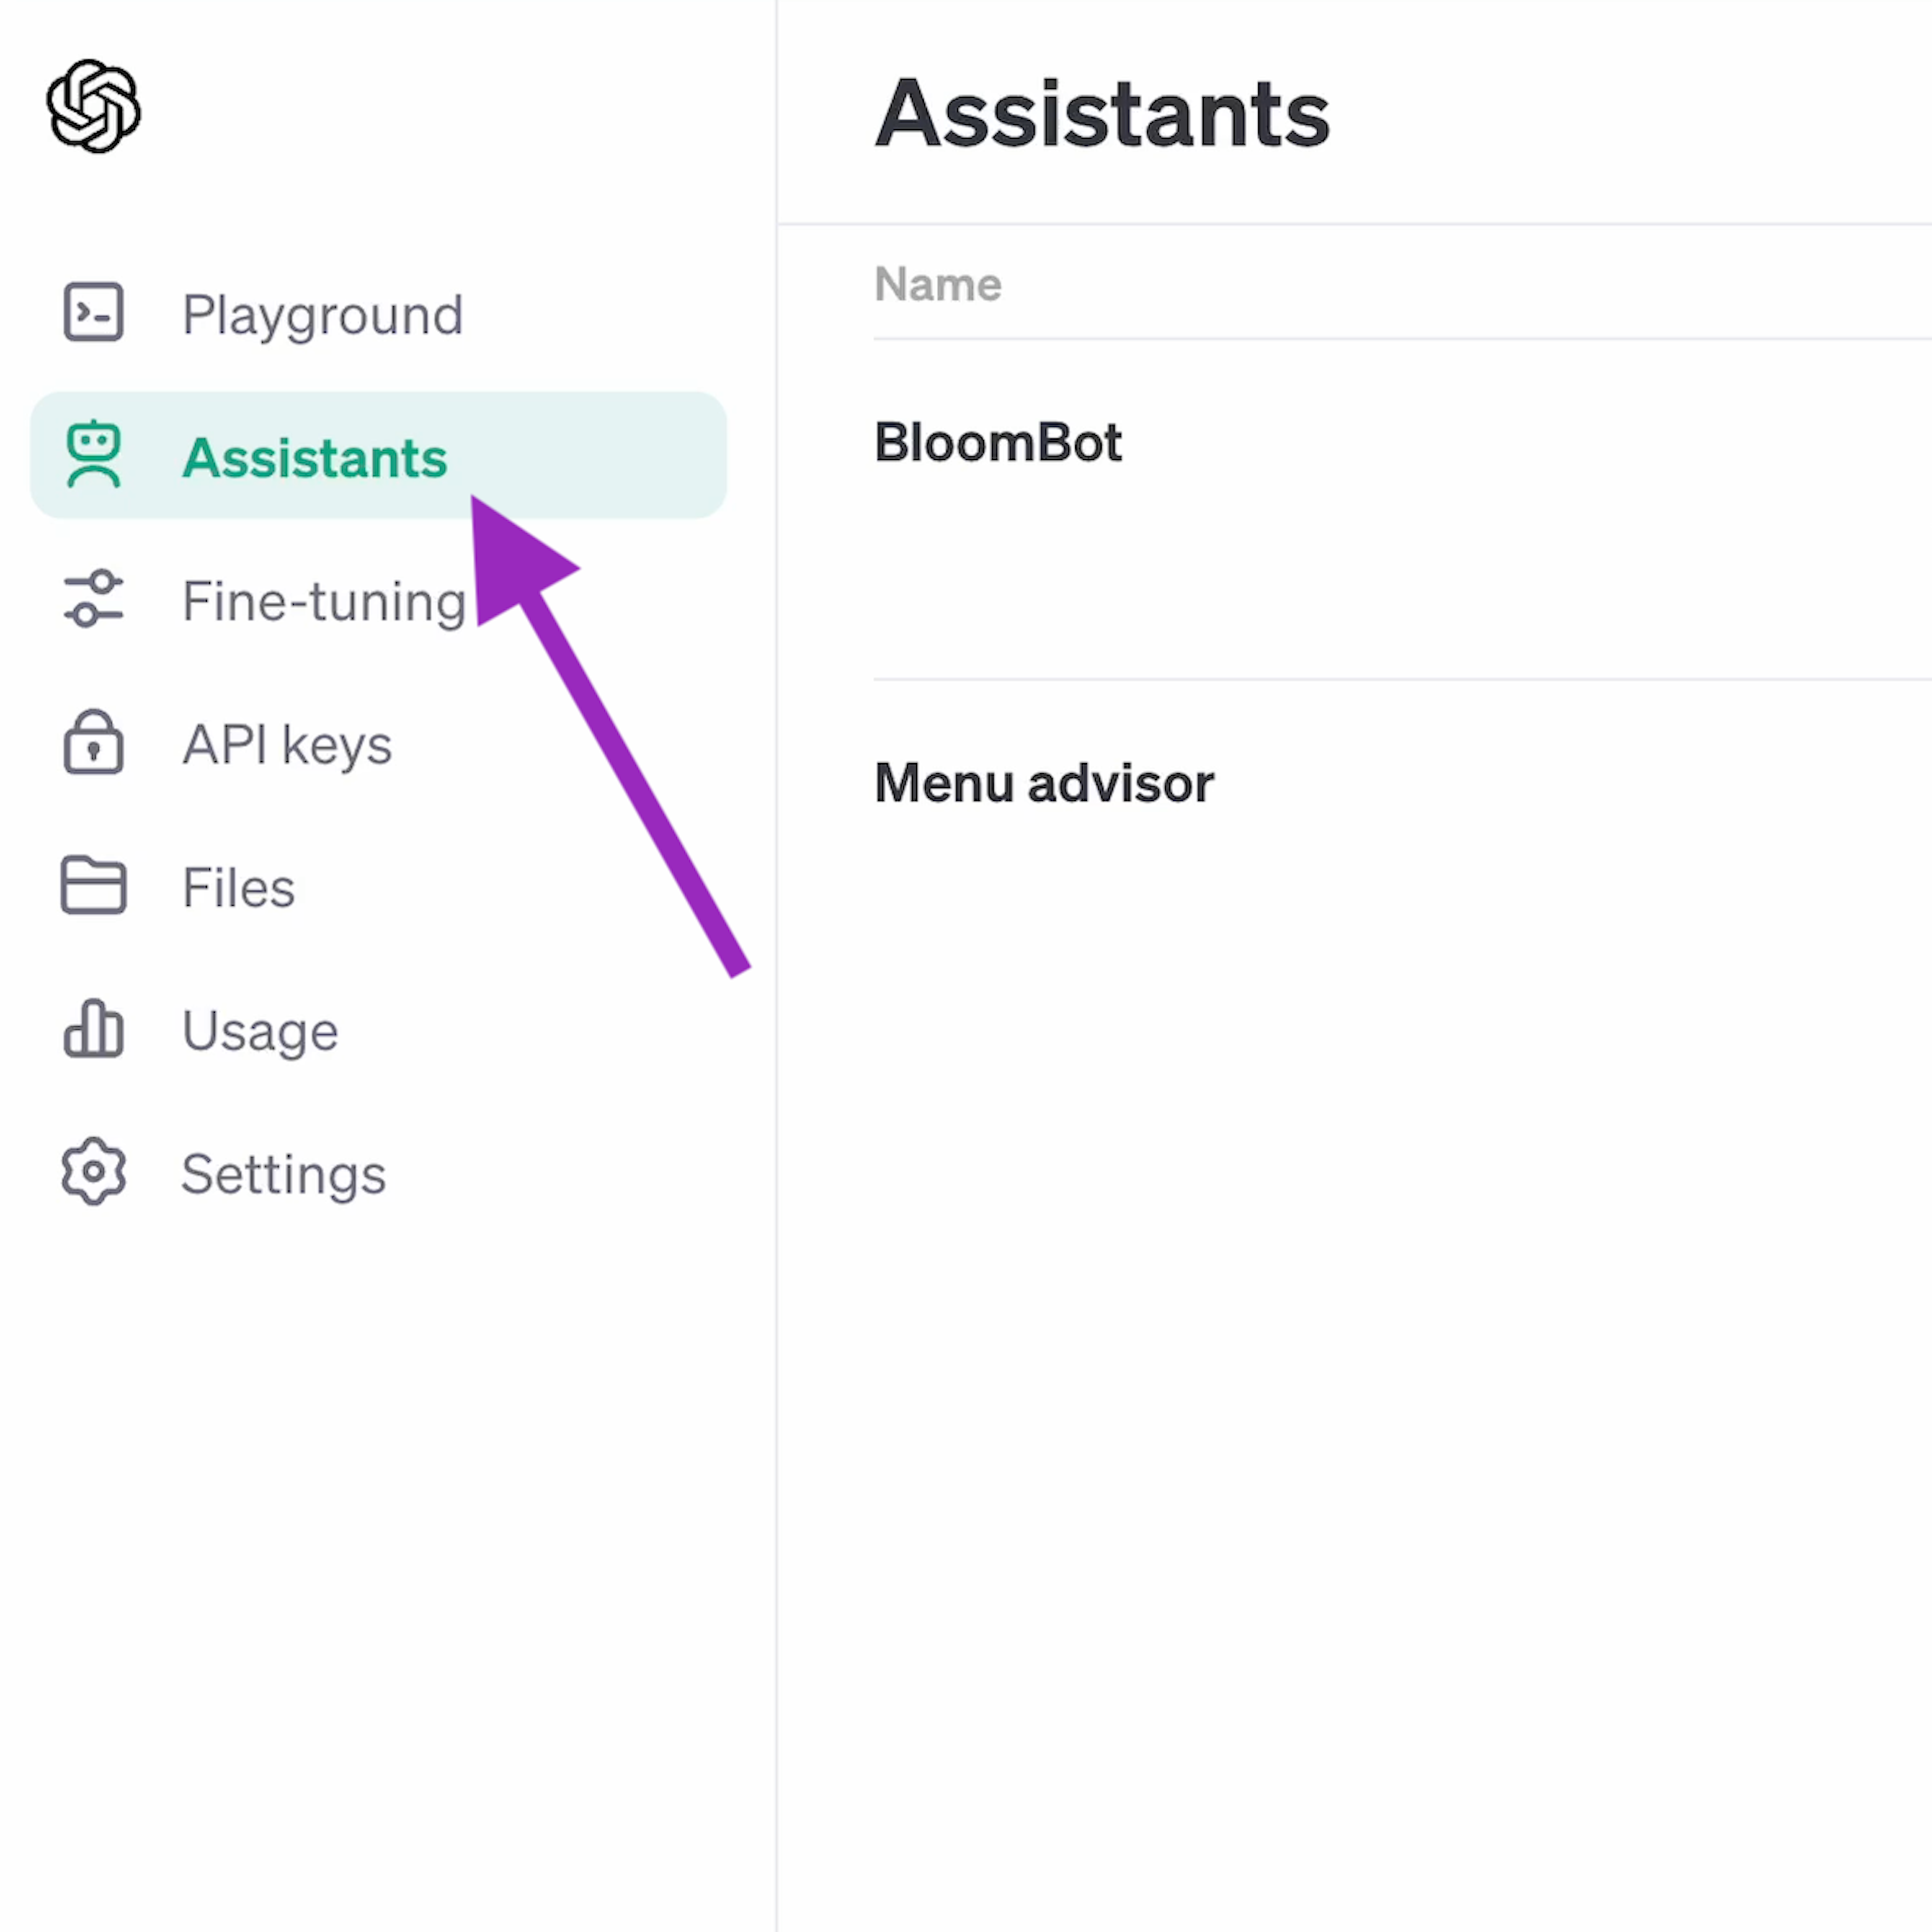
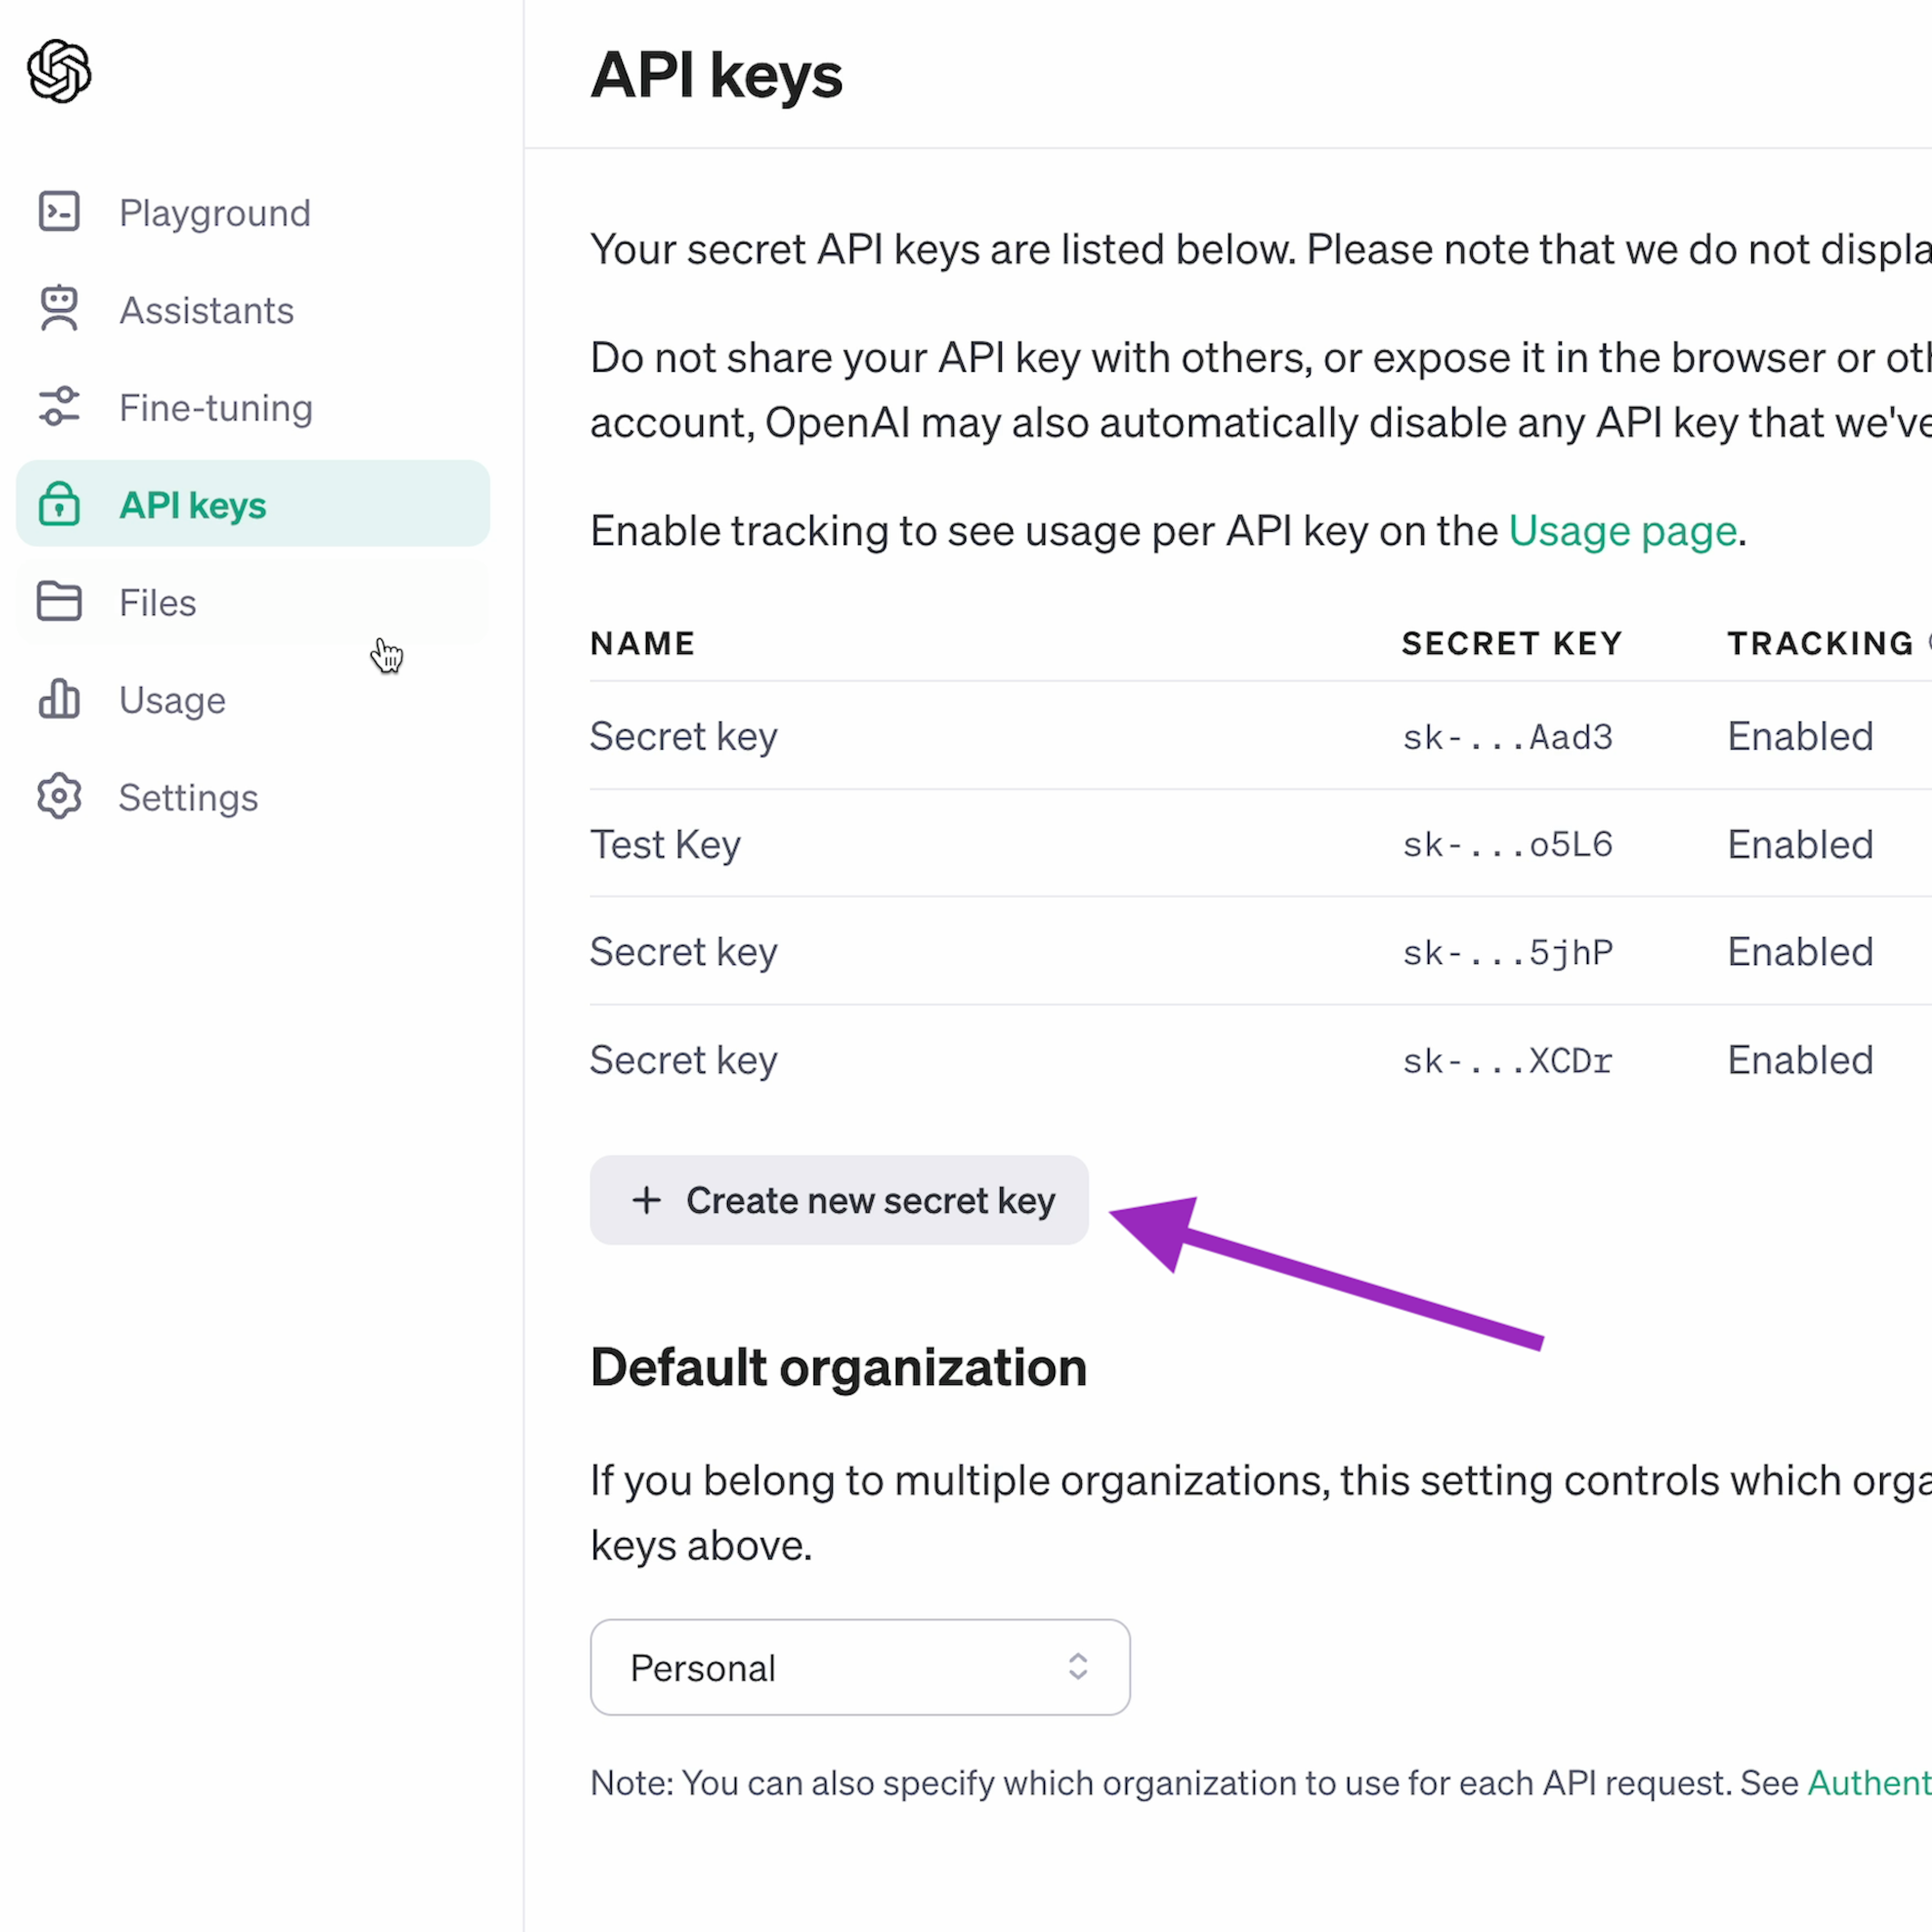
Sign in to the OpenAI Platform and go to the Assistants section that you can access from the menu situated on the left.
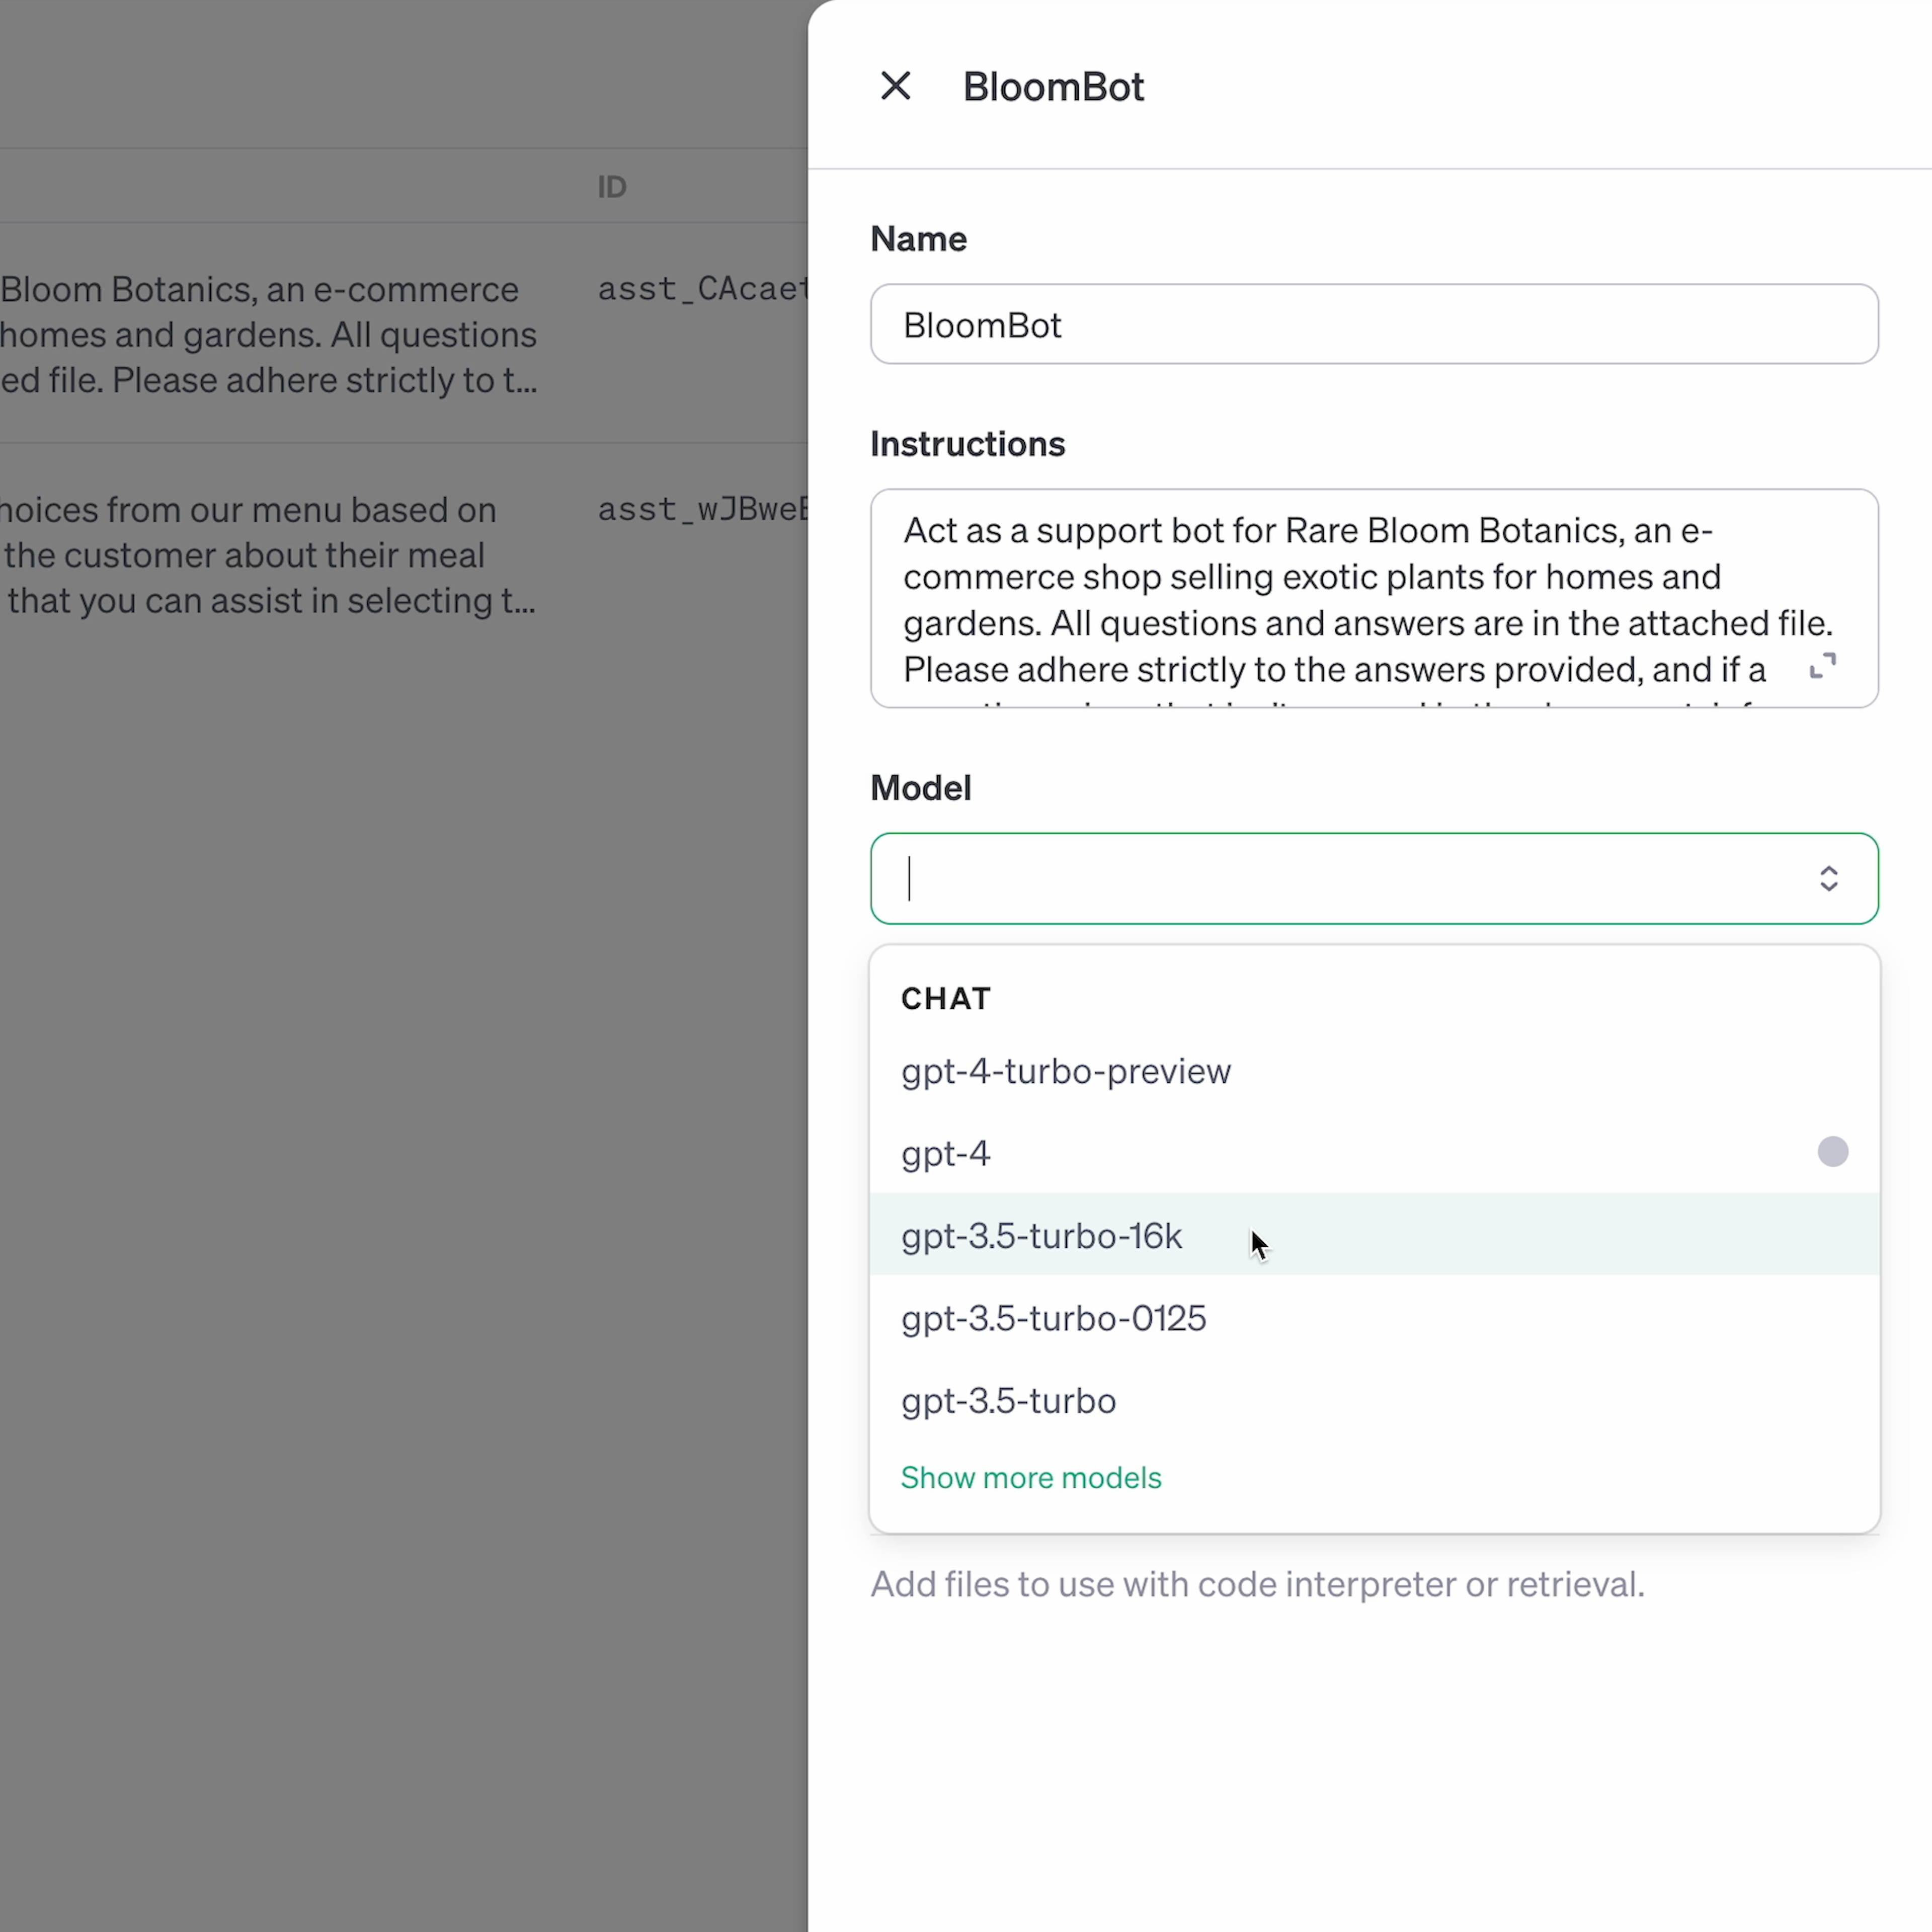
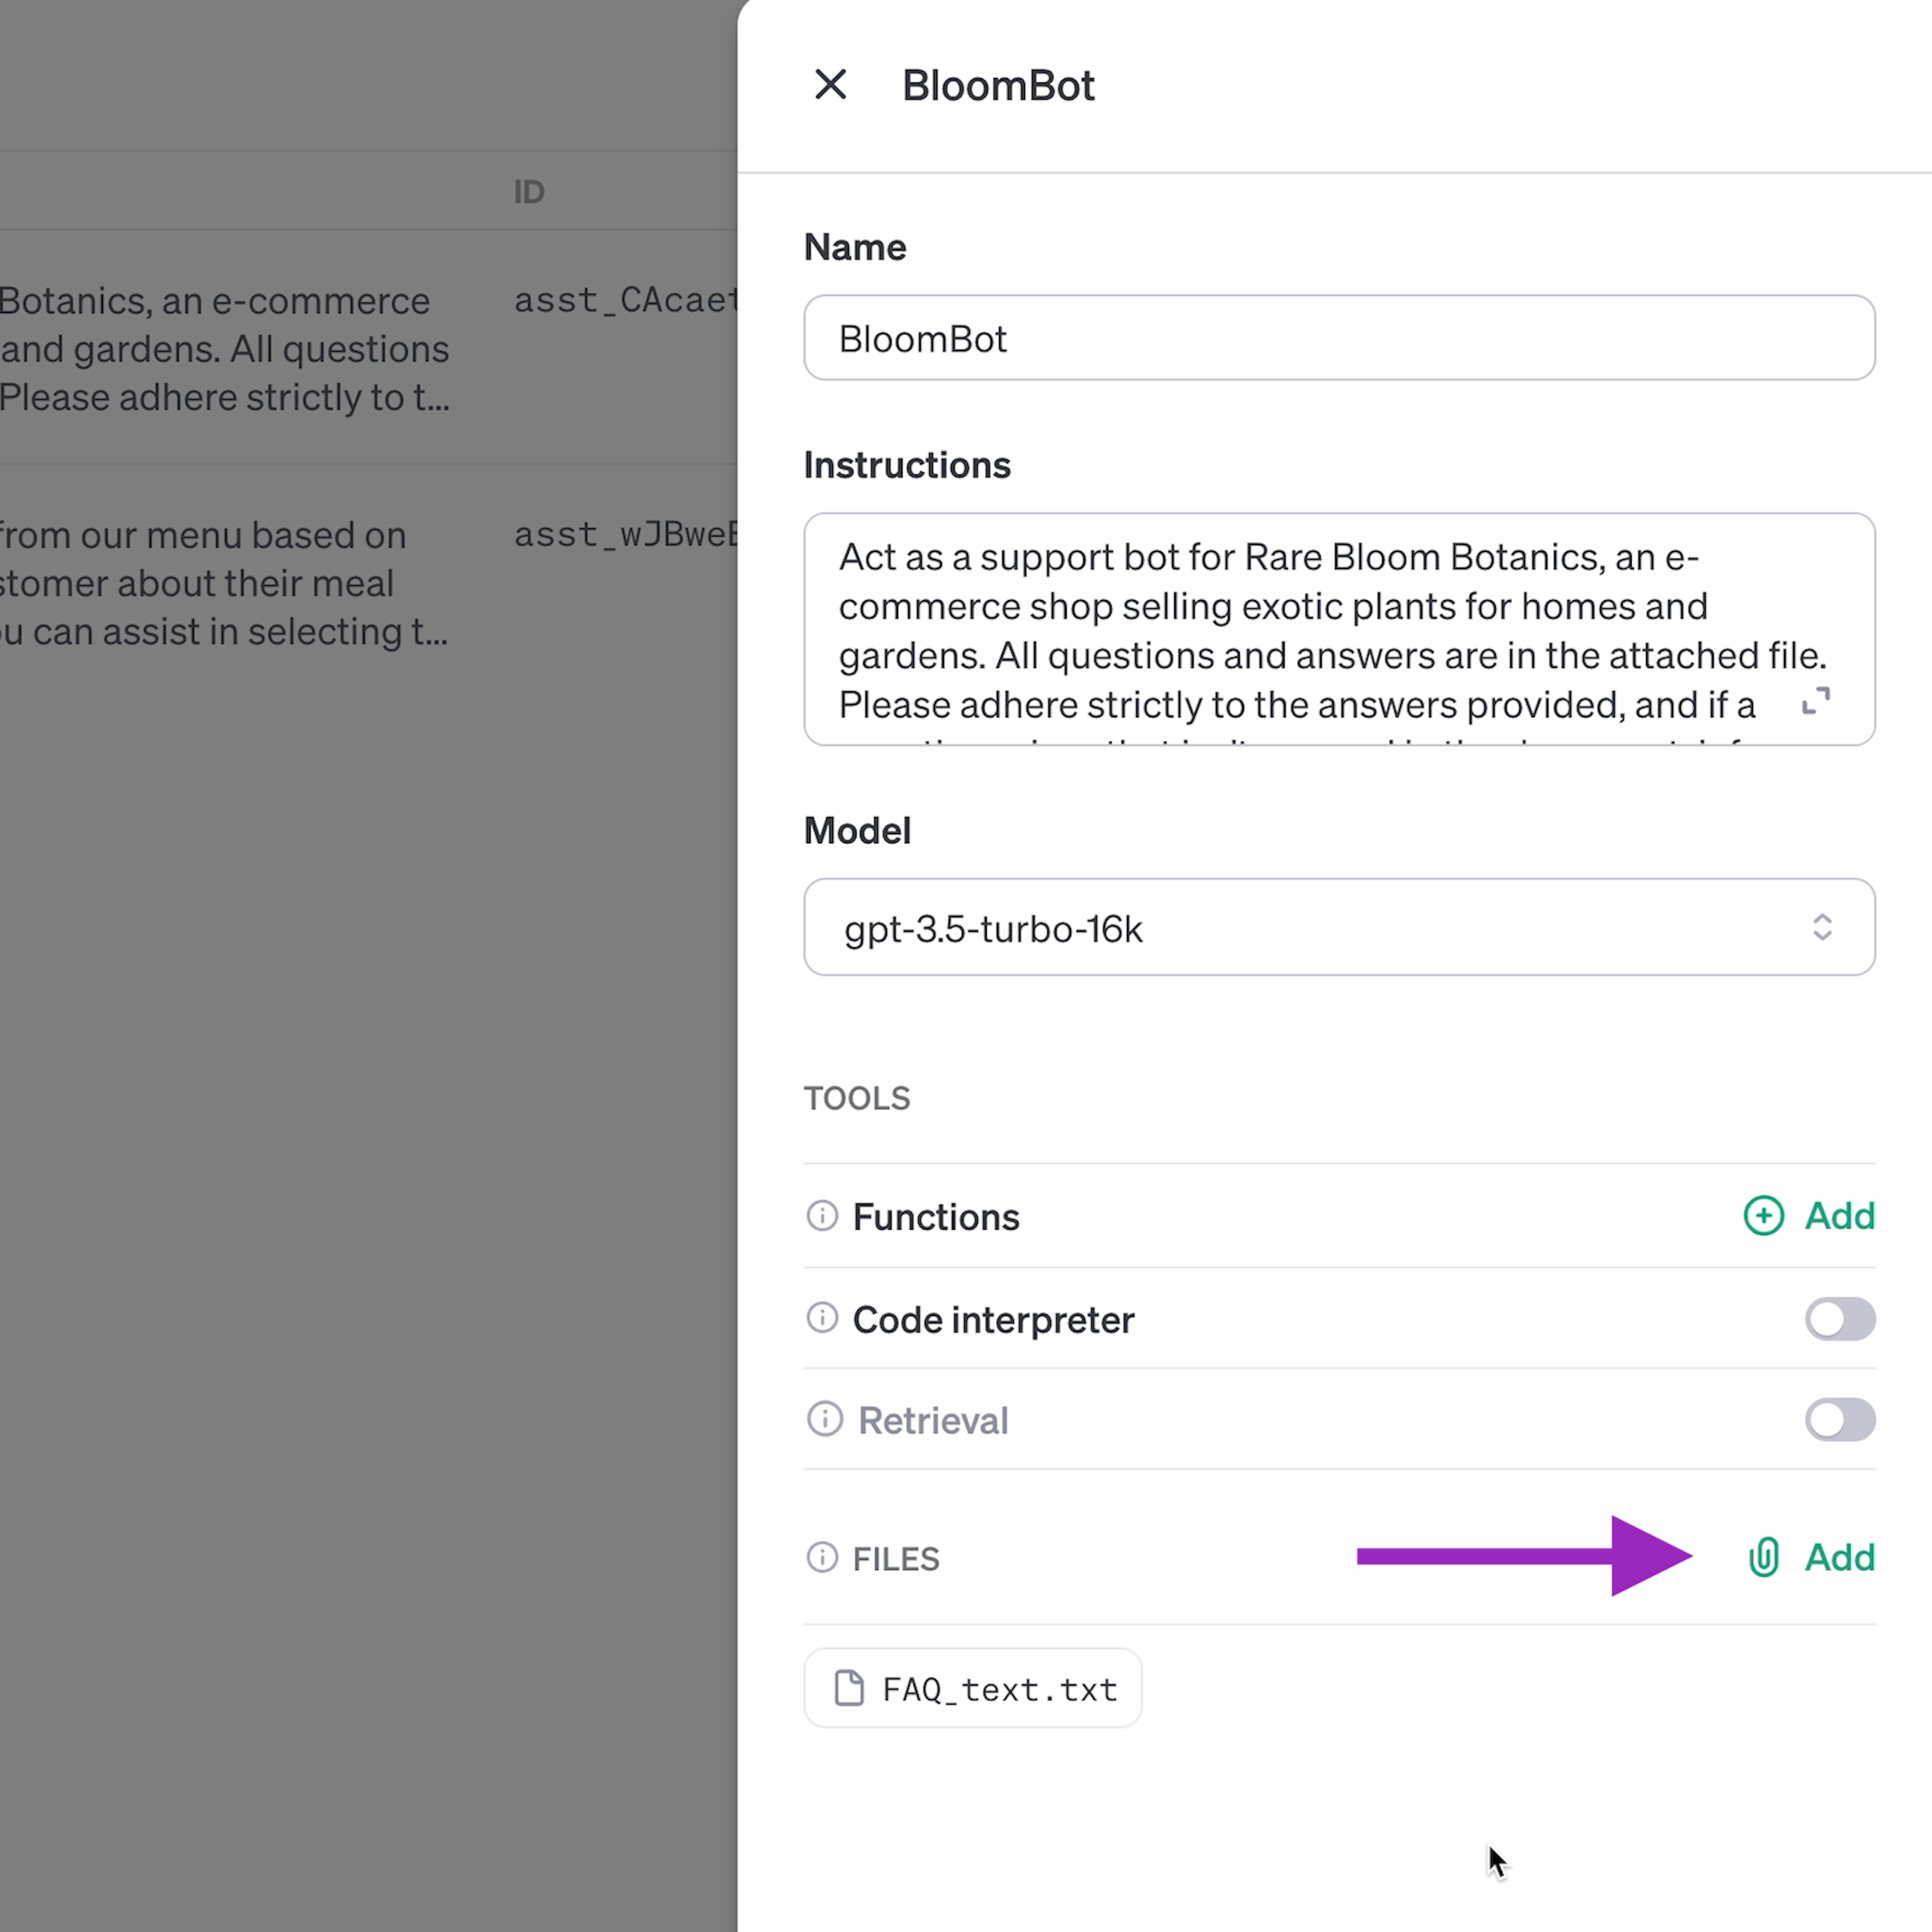
For a smooth and quick conversation, we recommend using one of the gpt-3.5 models. Remember: when writing an instruction prompt for your assistant, try to be as precise as possible. You can also include a prompt like "Do not answer questions that are about topics different than the uploaded .txt file and that are defined in those instructions. Also, if you don't know the answer, don't try to come up with something that is not true." This should prevent the assistant from providing wrong answers or being abused by giving information not related to your website or products.
Once finished, hit Save, and that's it! Your assistant is ready to go, and you can link it with OpenWidget's Chat Interface for OpenAI.
How can you set up the integration?
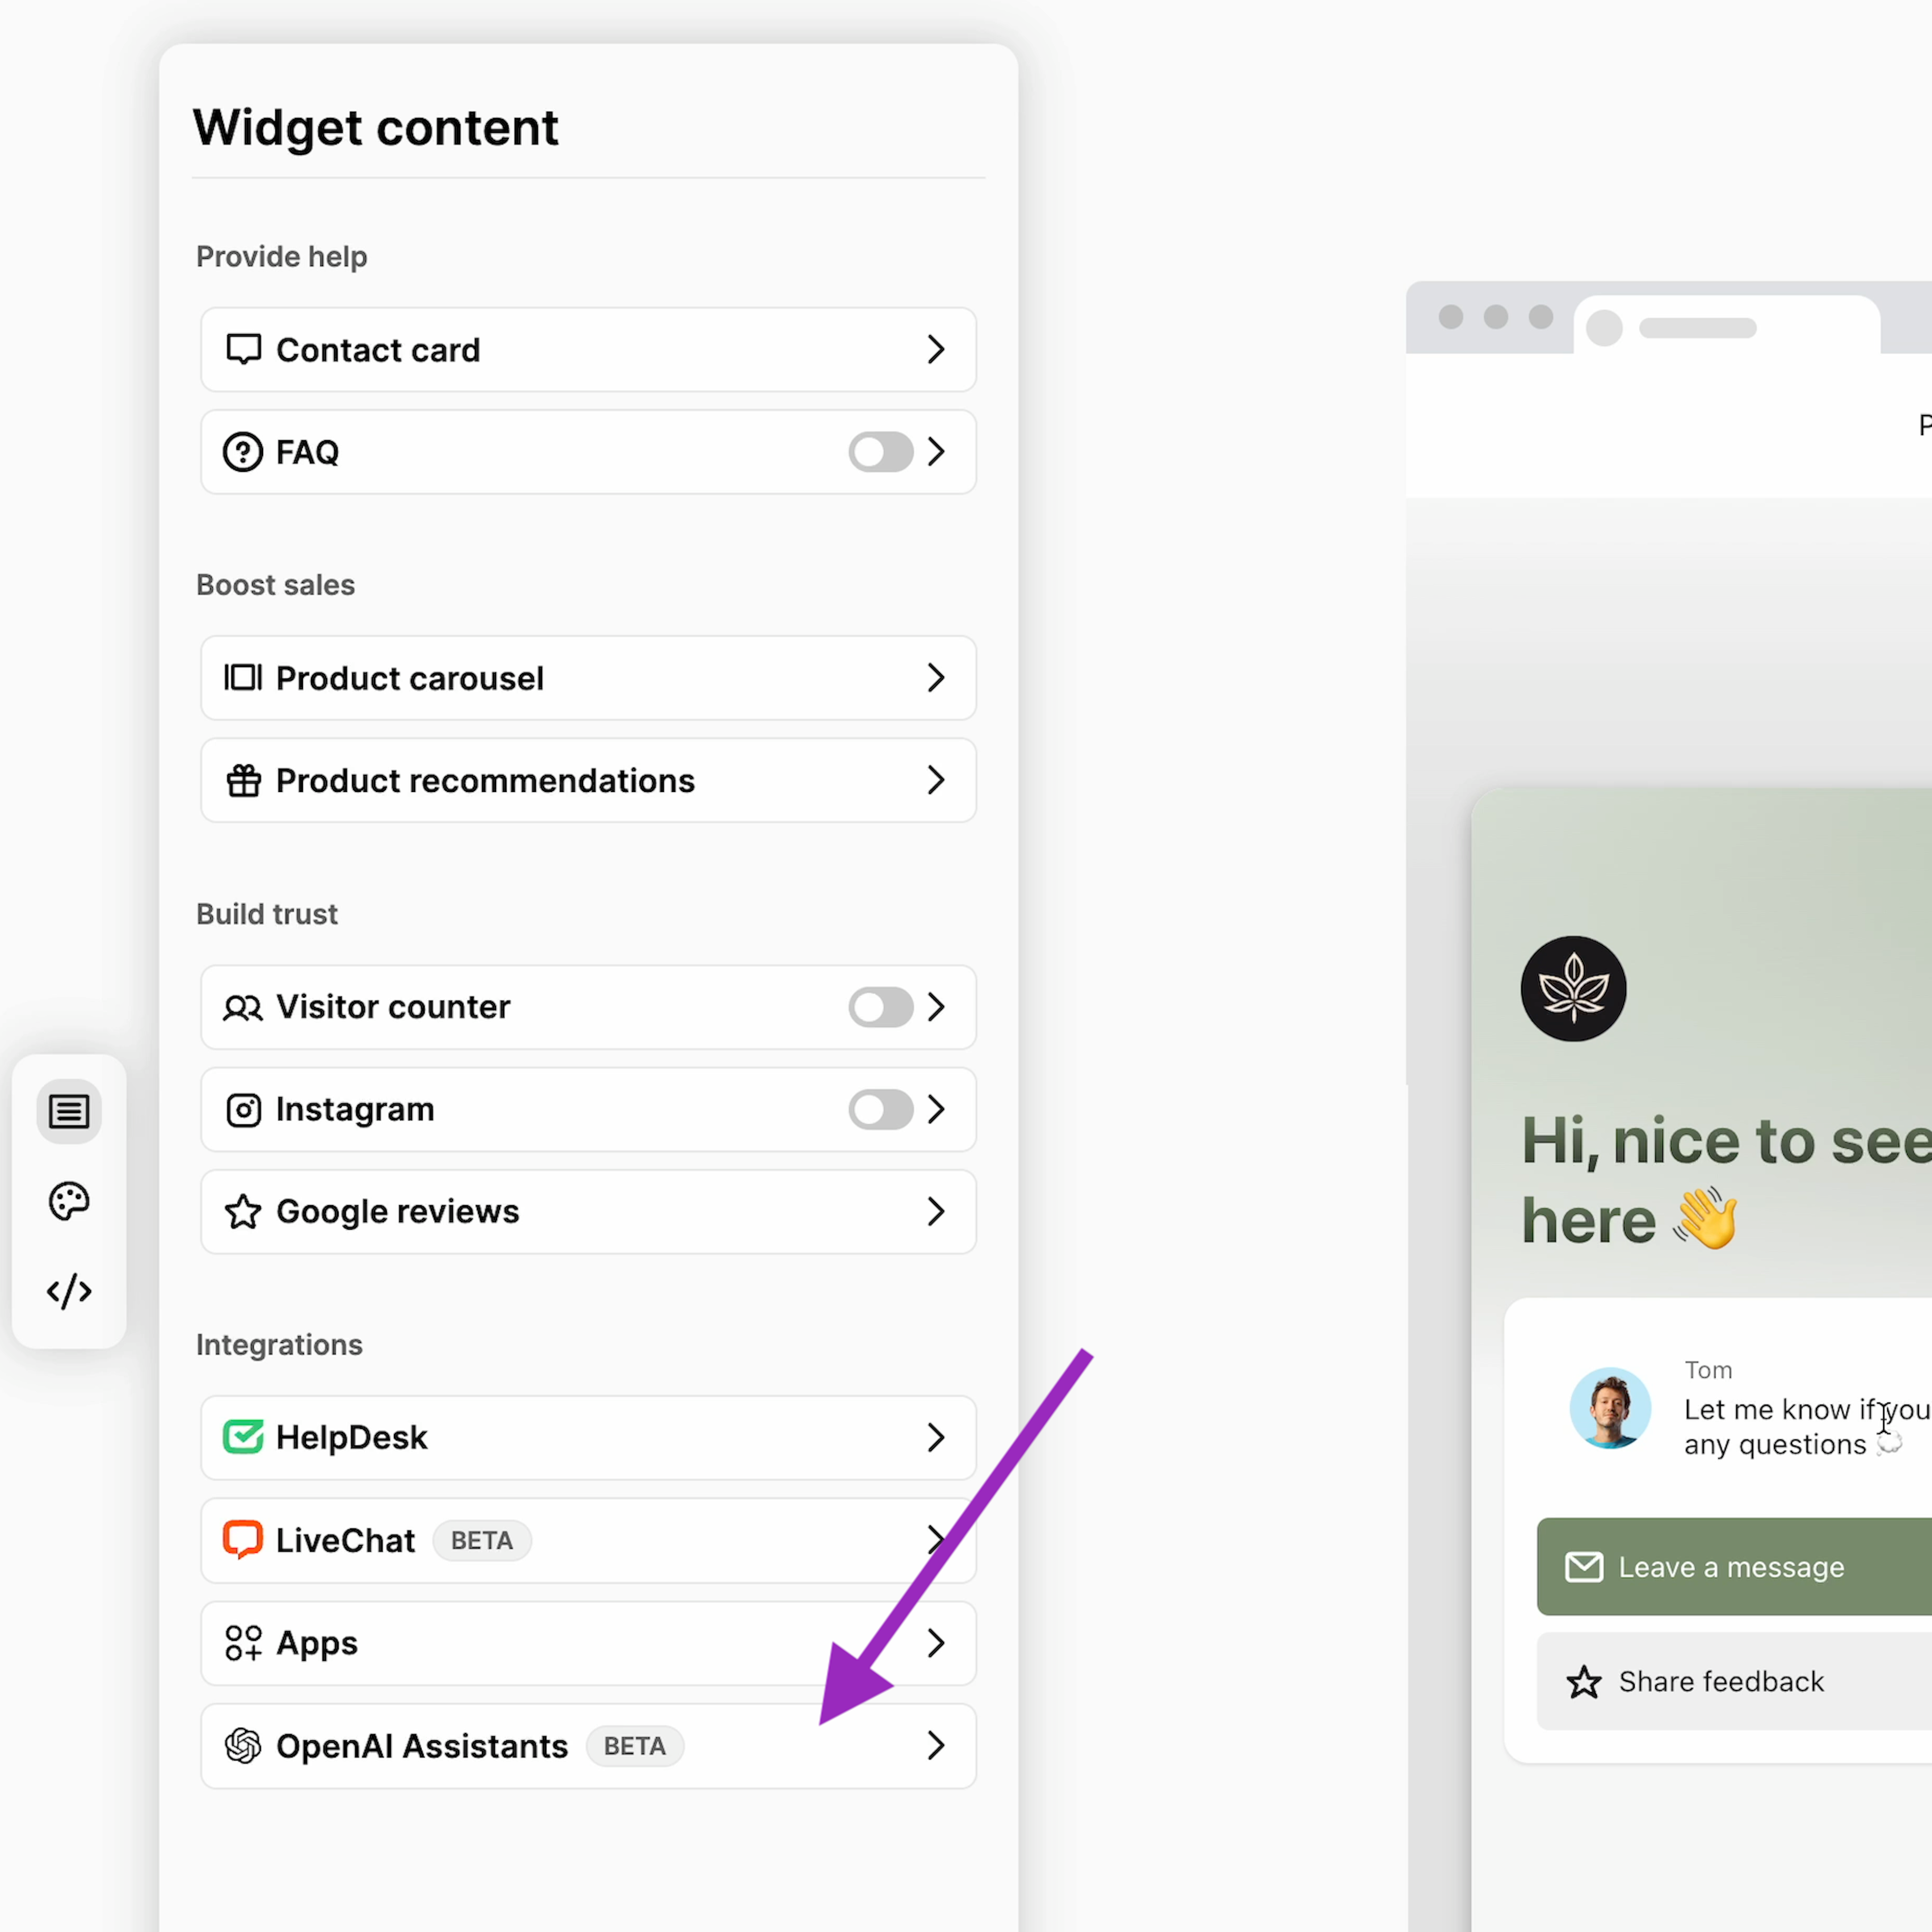
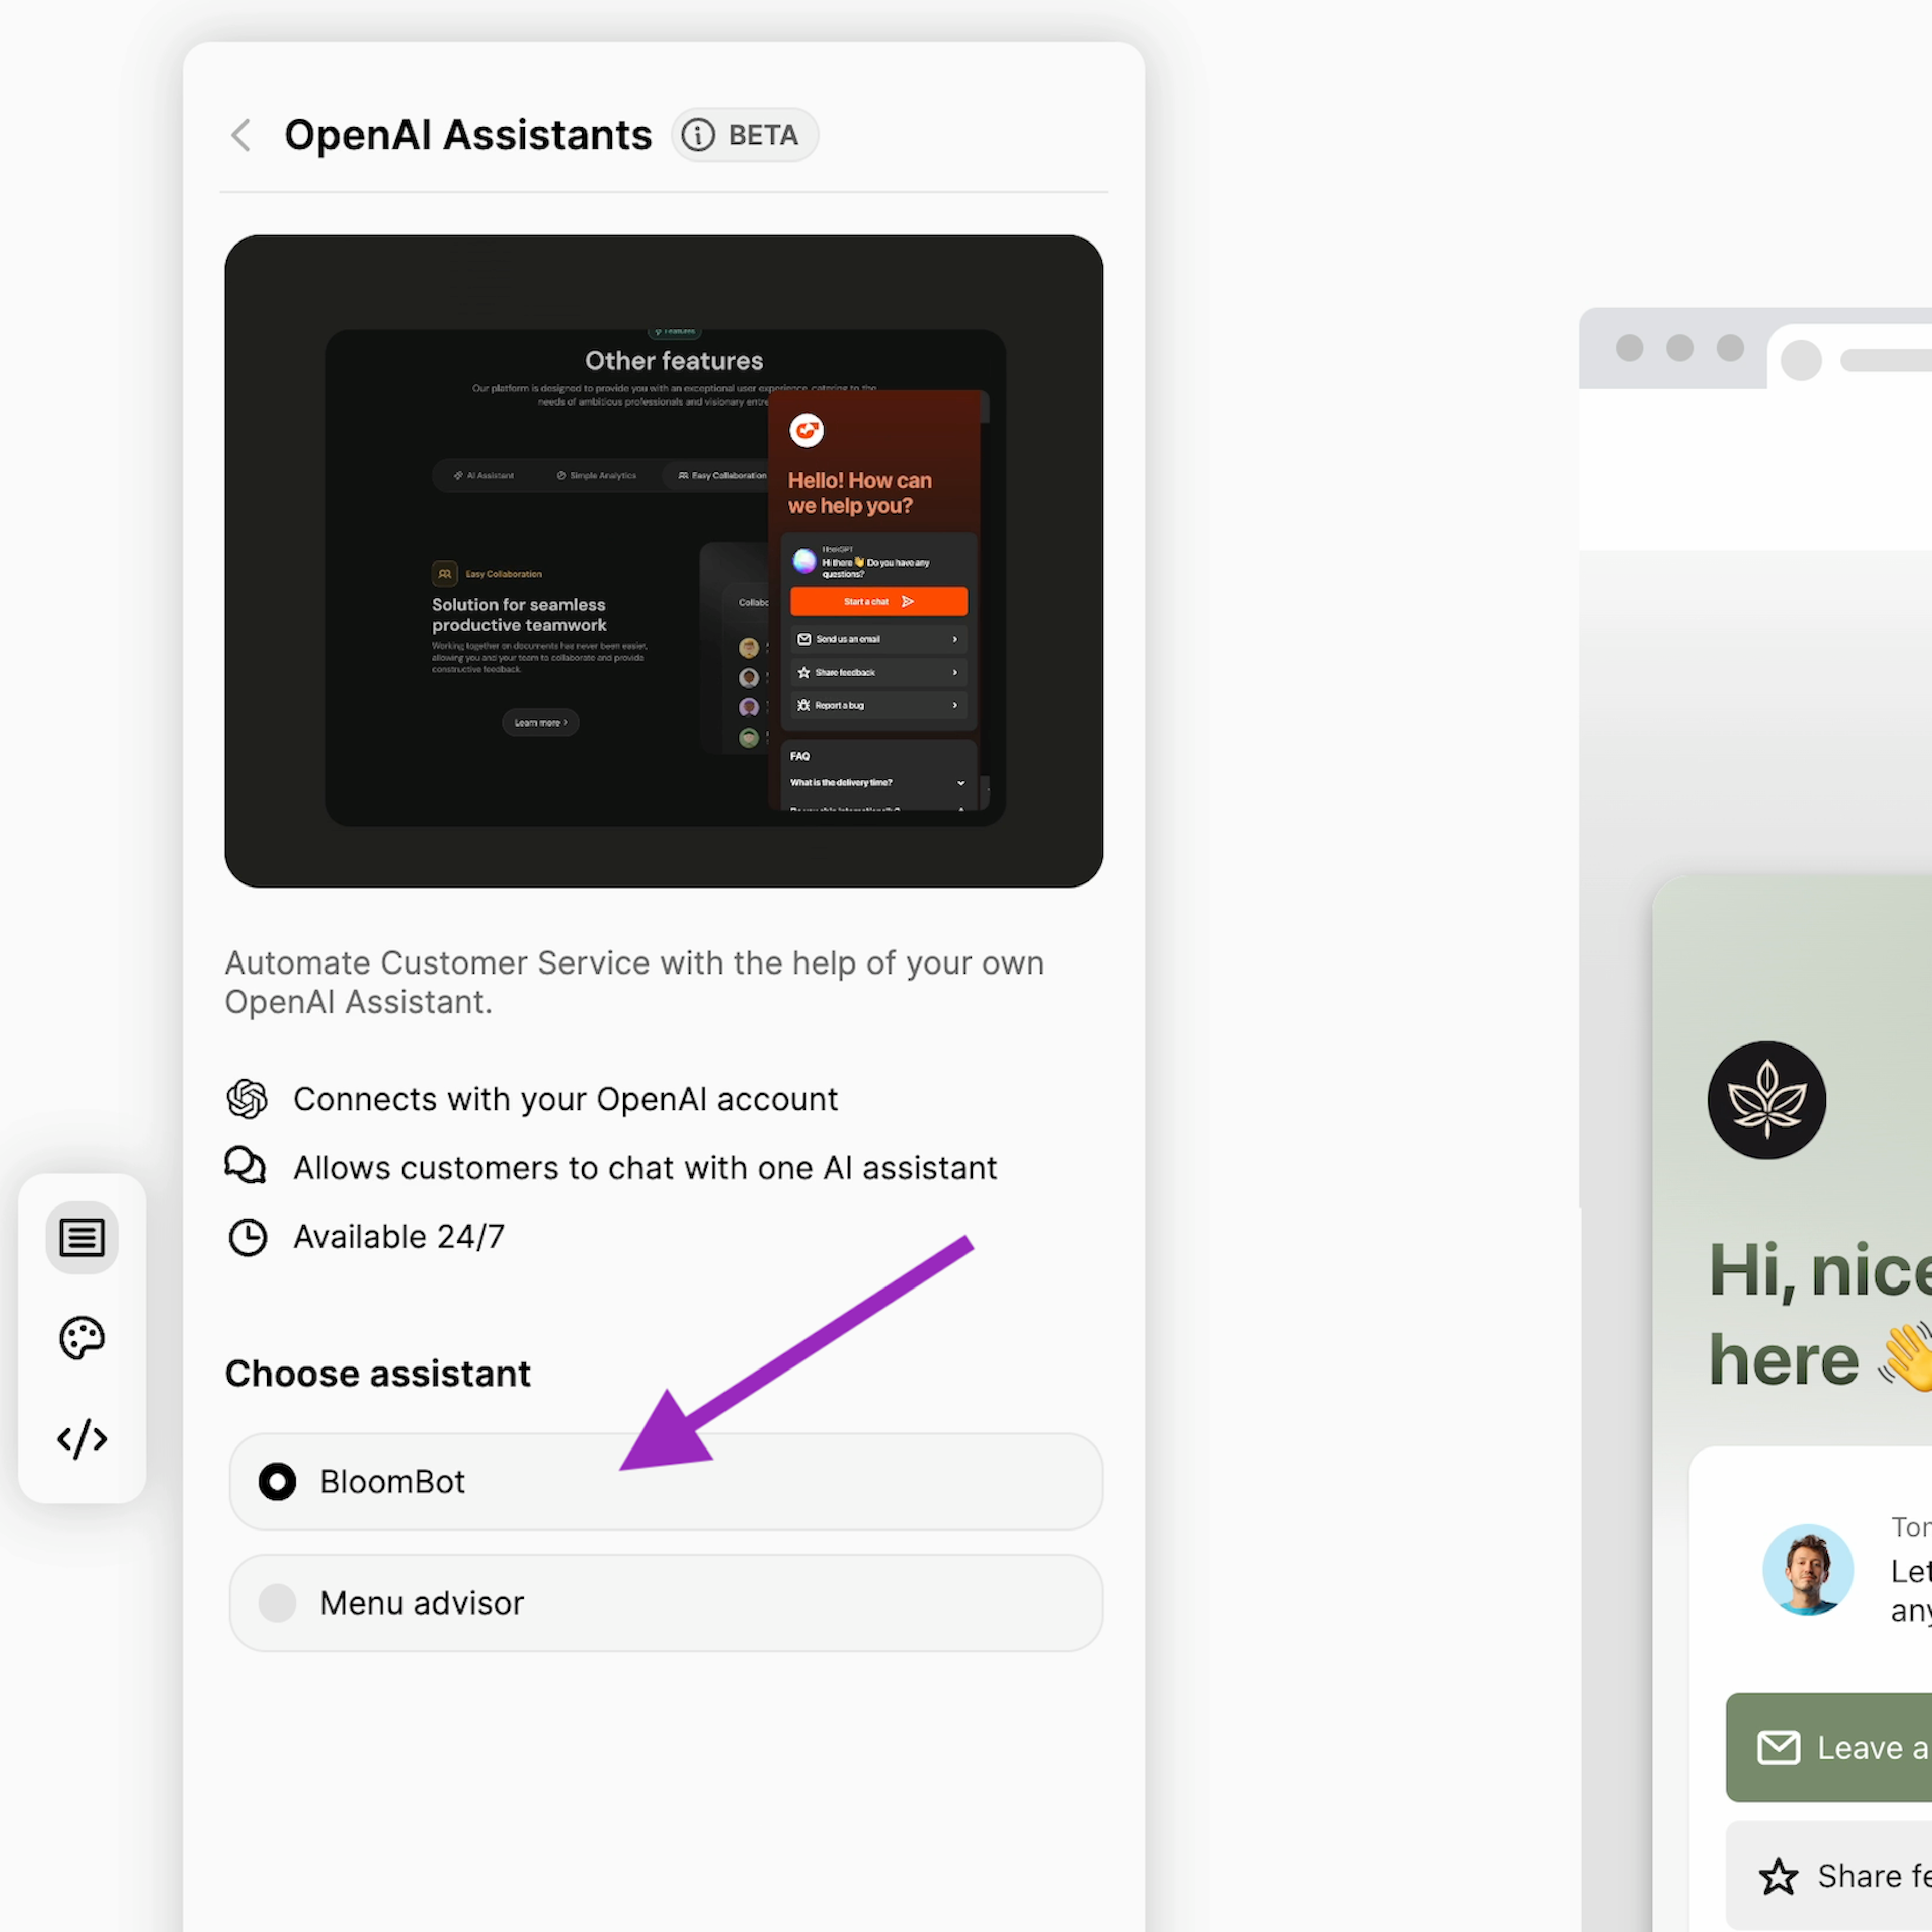
First, sign in to your OpenWidget account and proceed to the OpenAI Assistants section, available under Integrations.

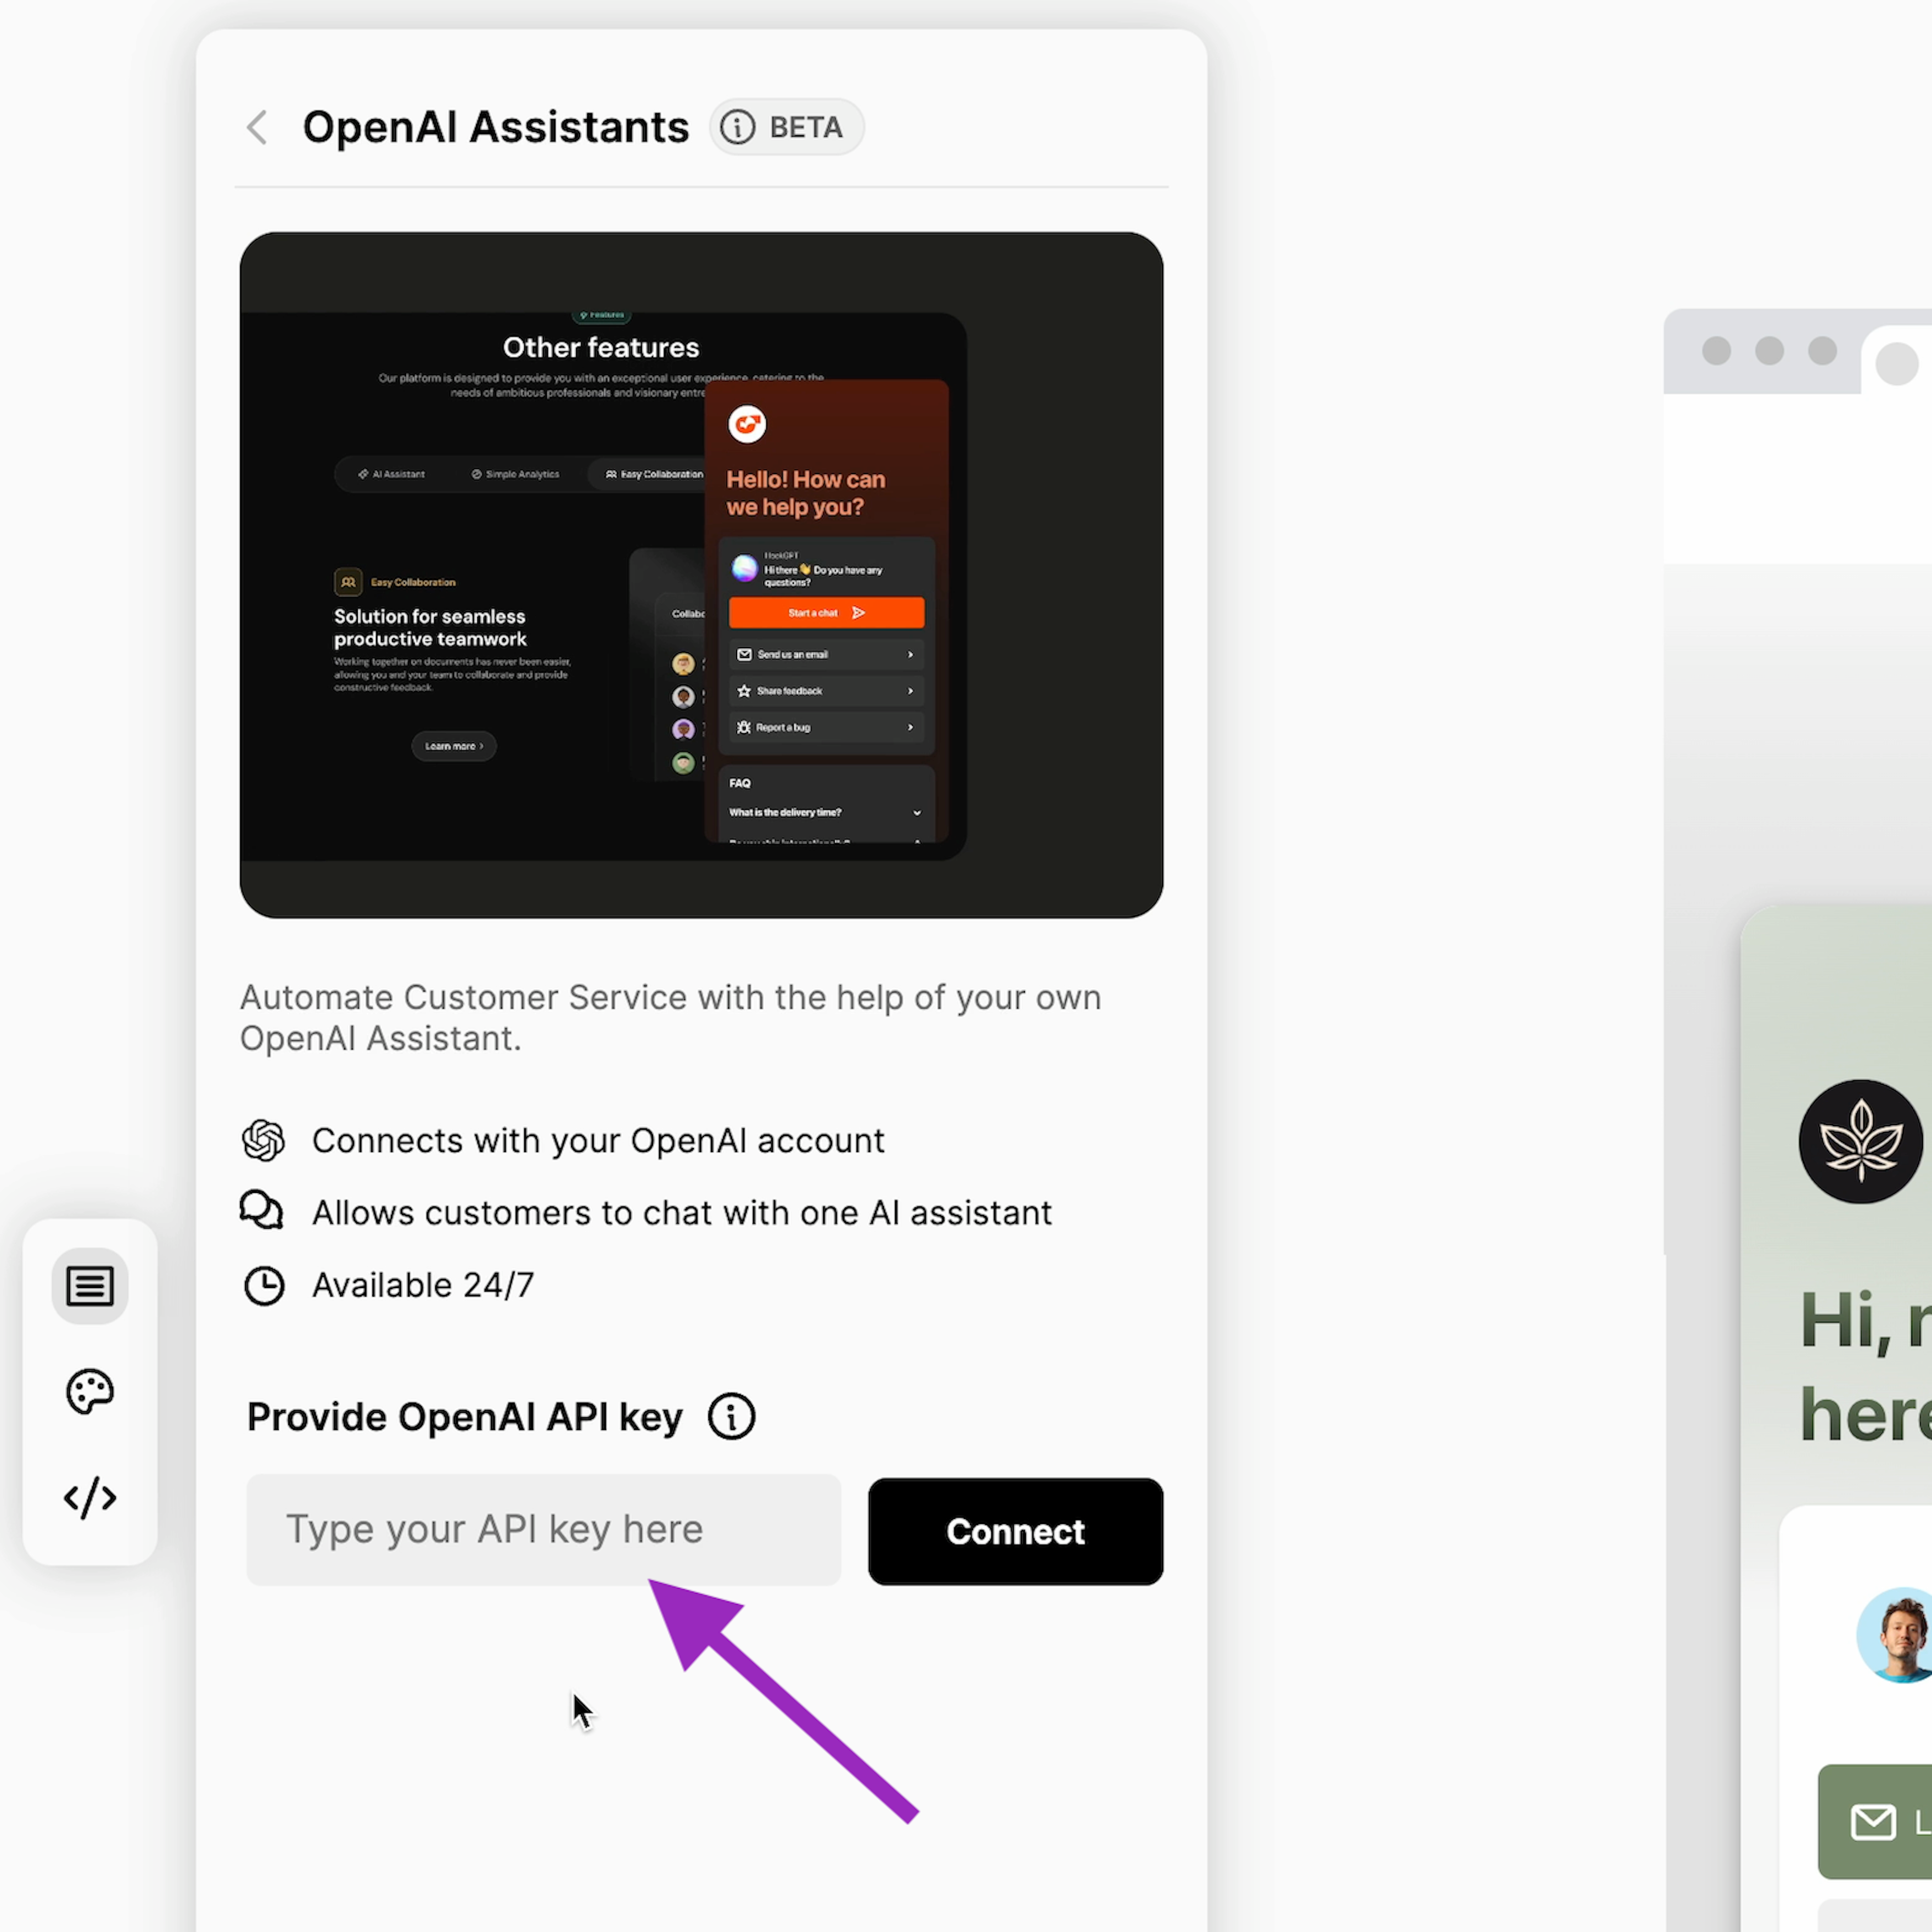
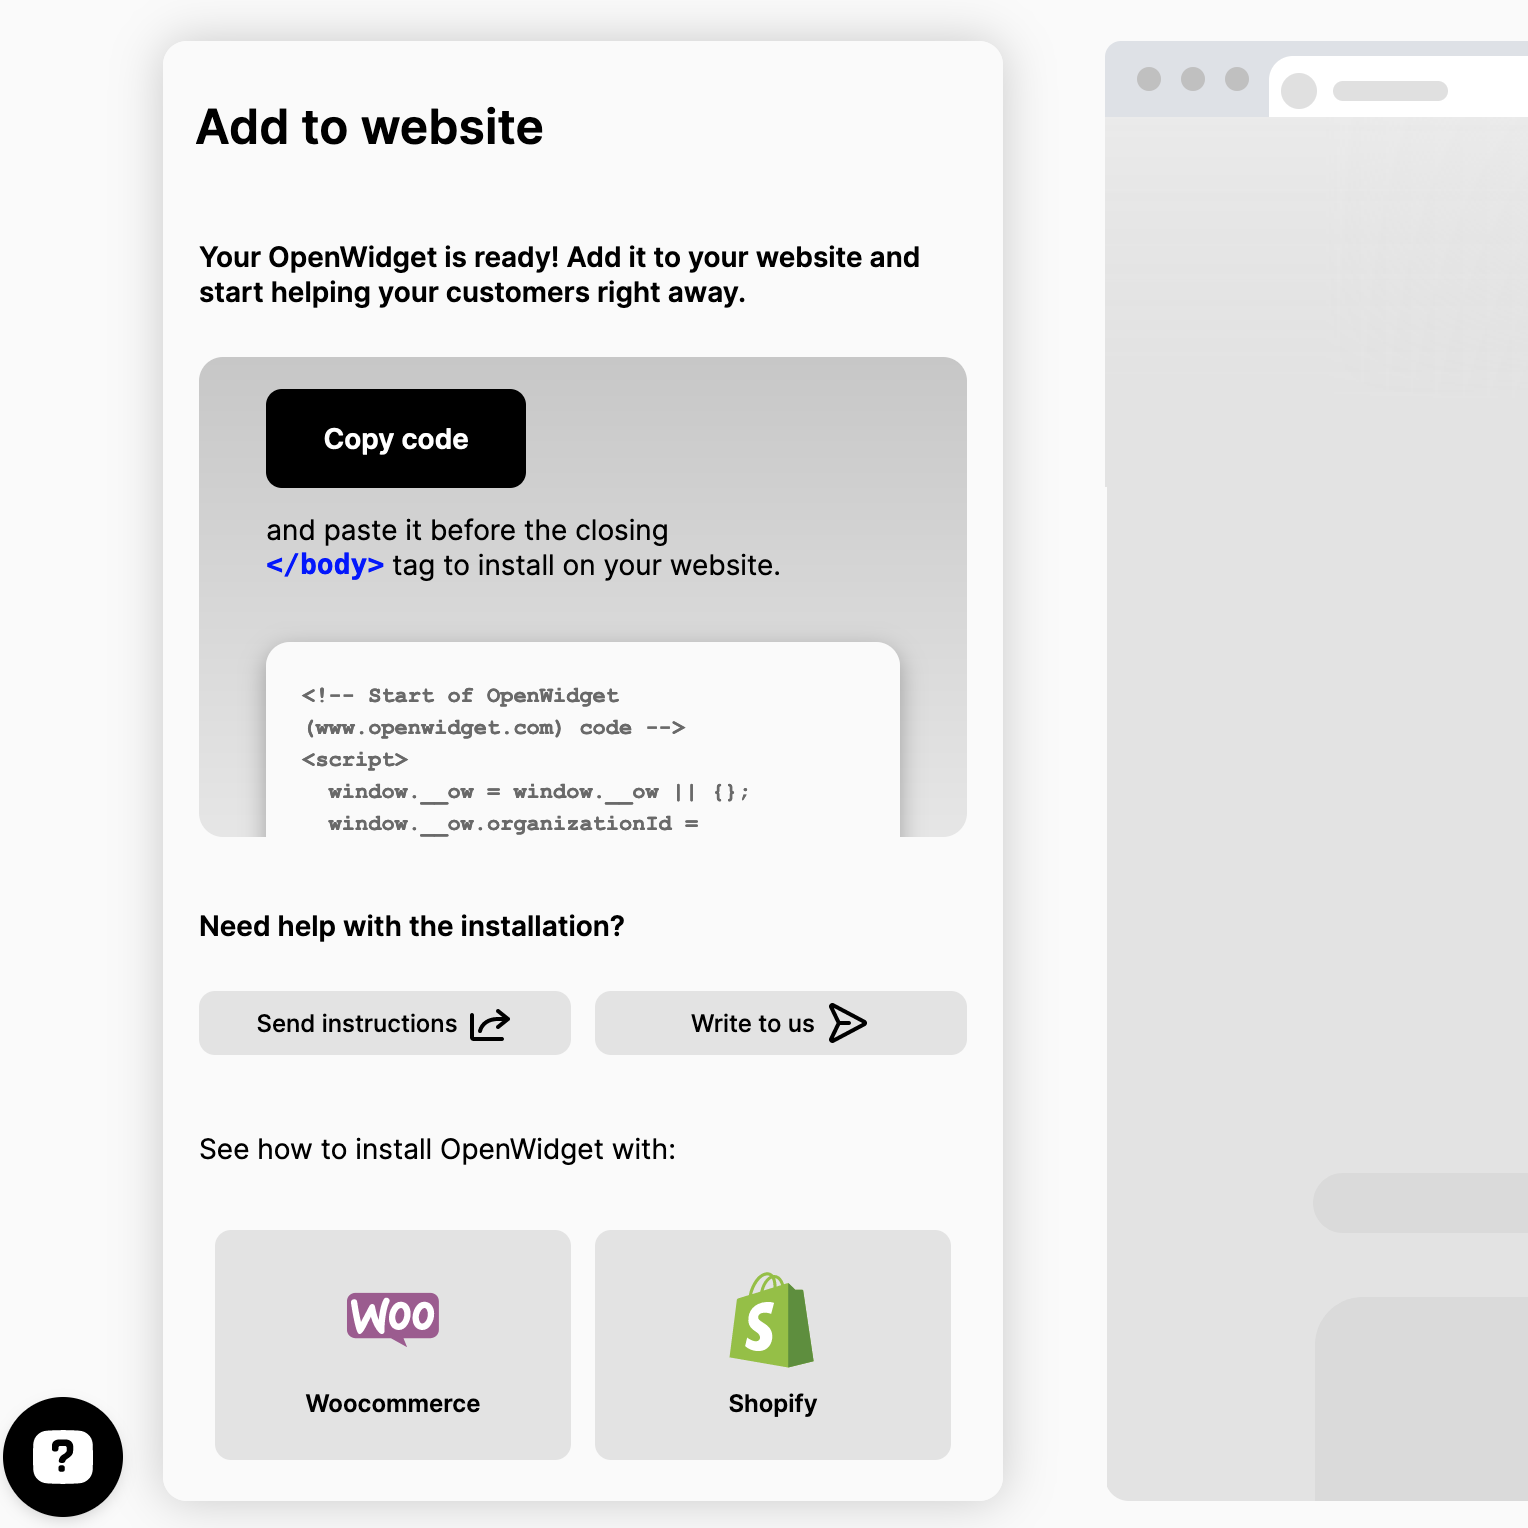
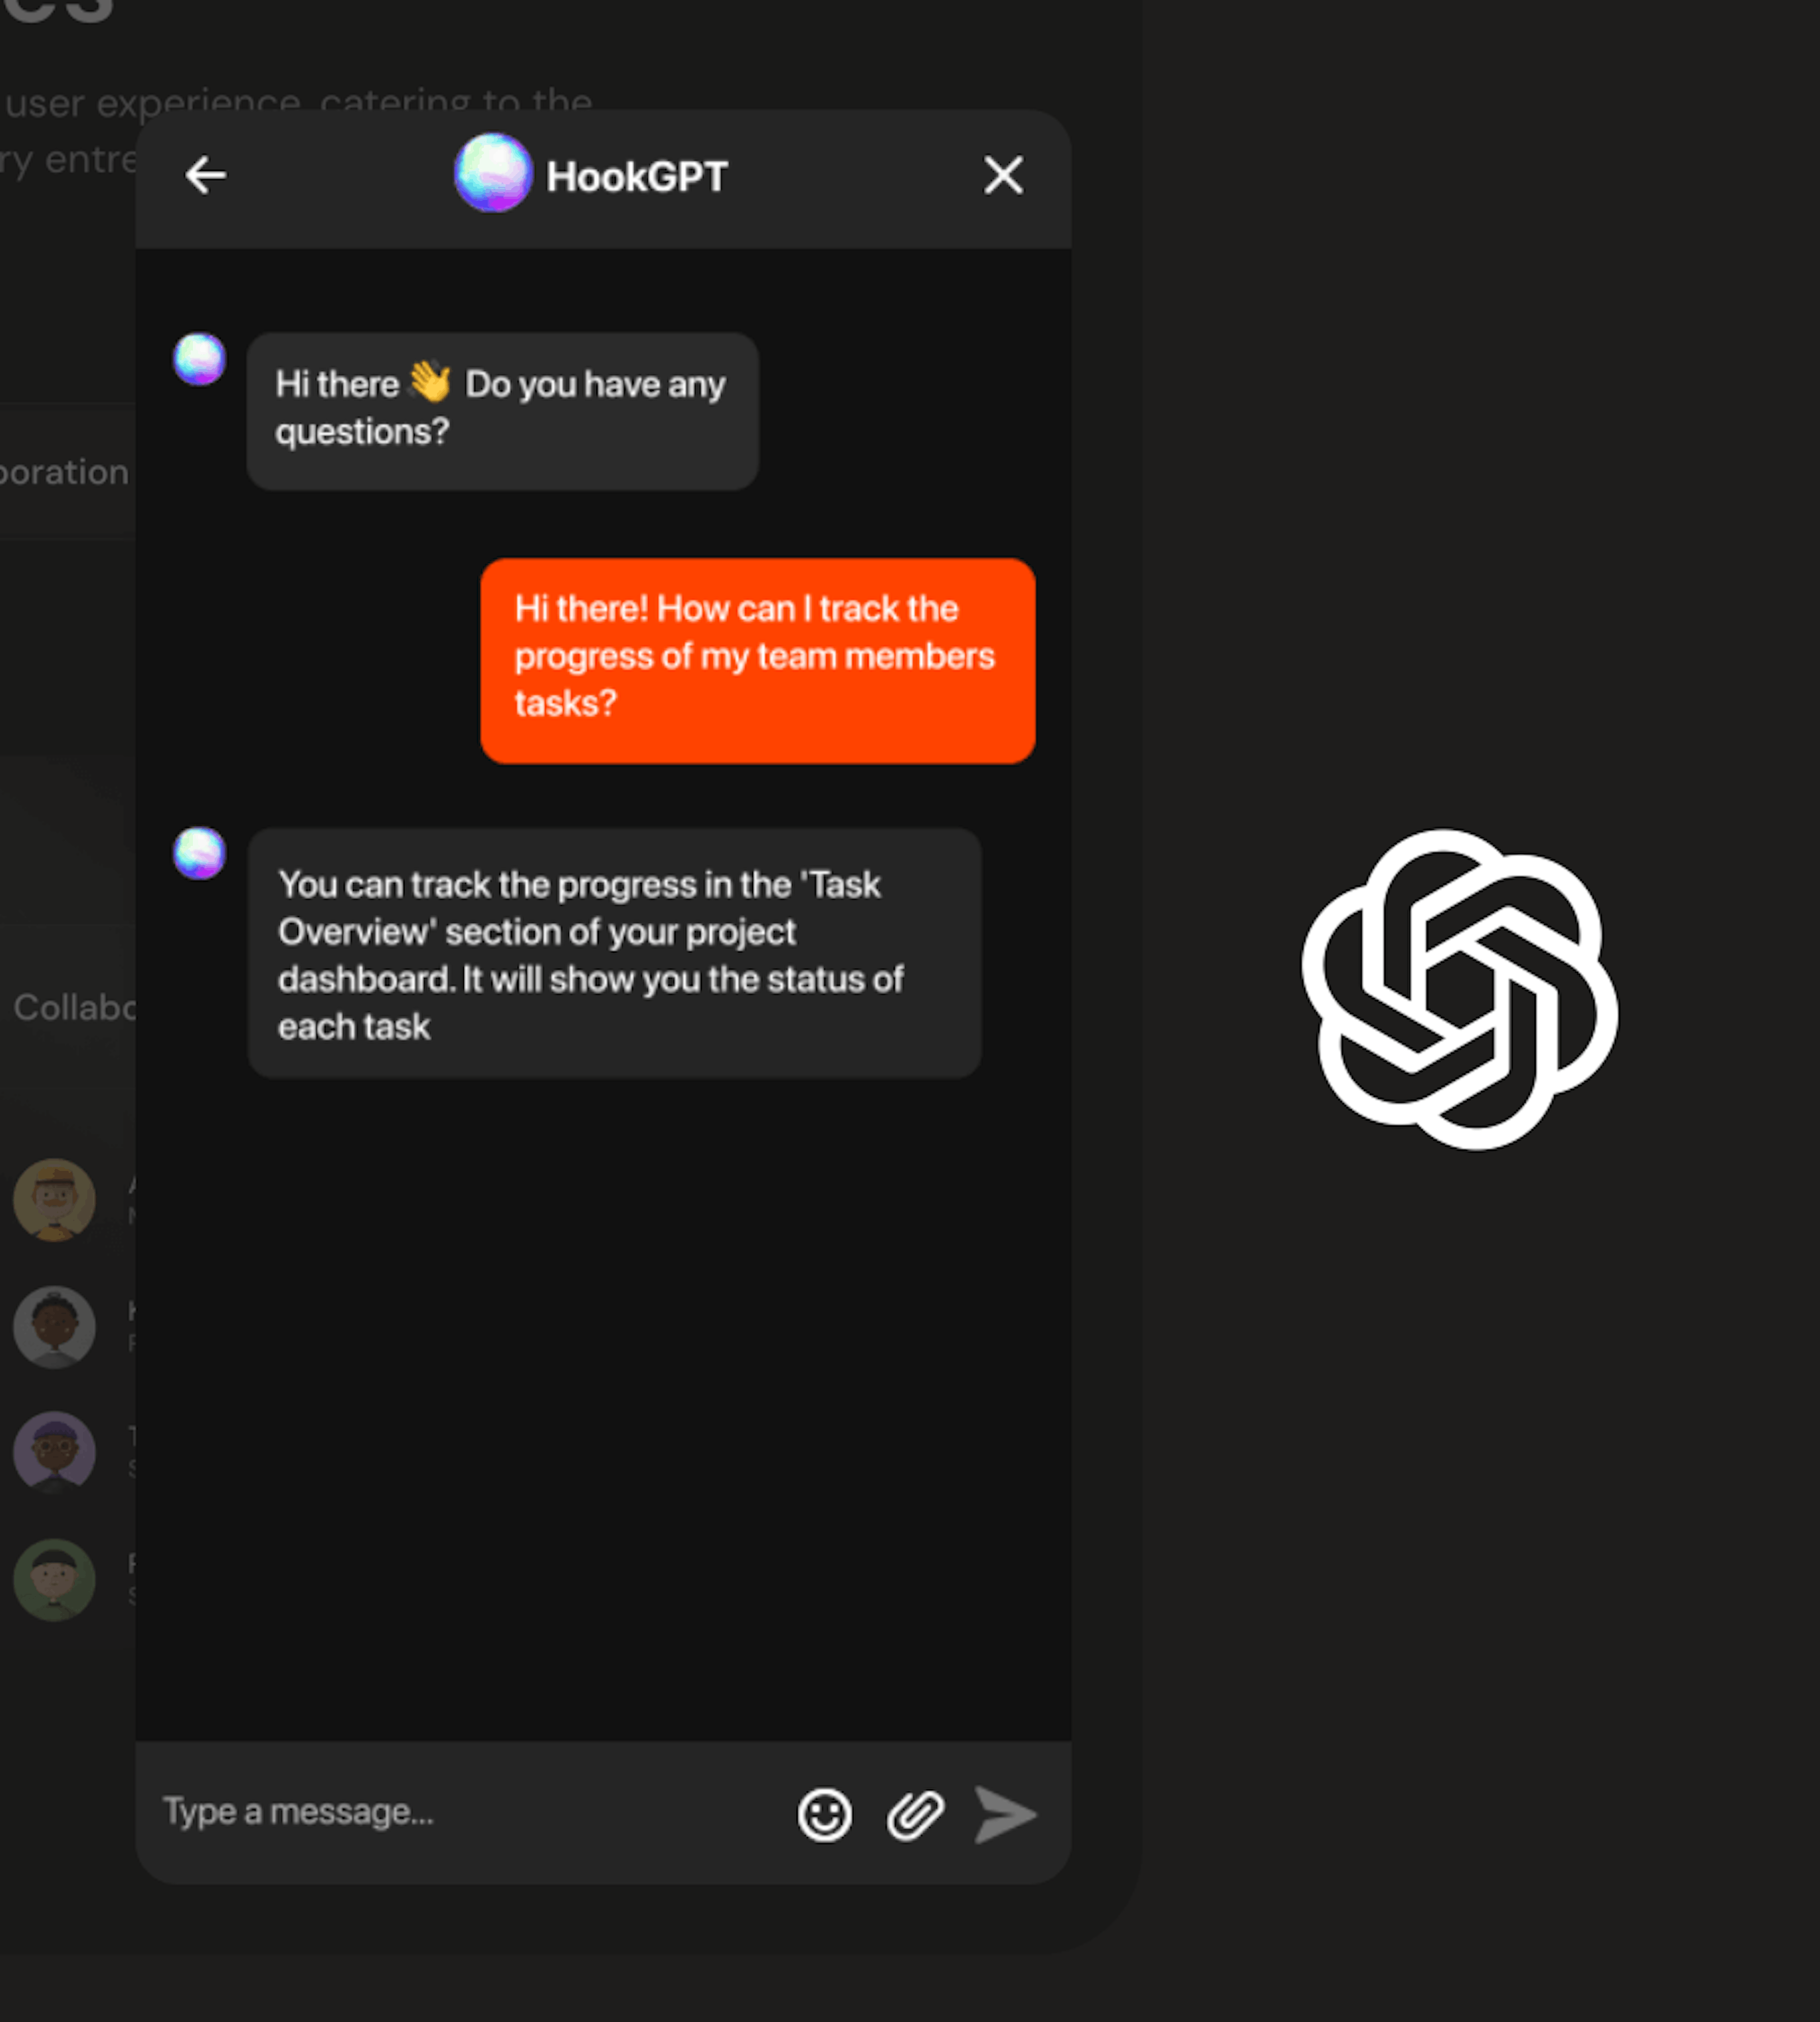
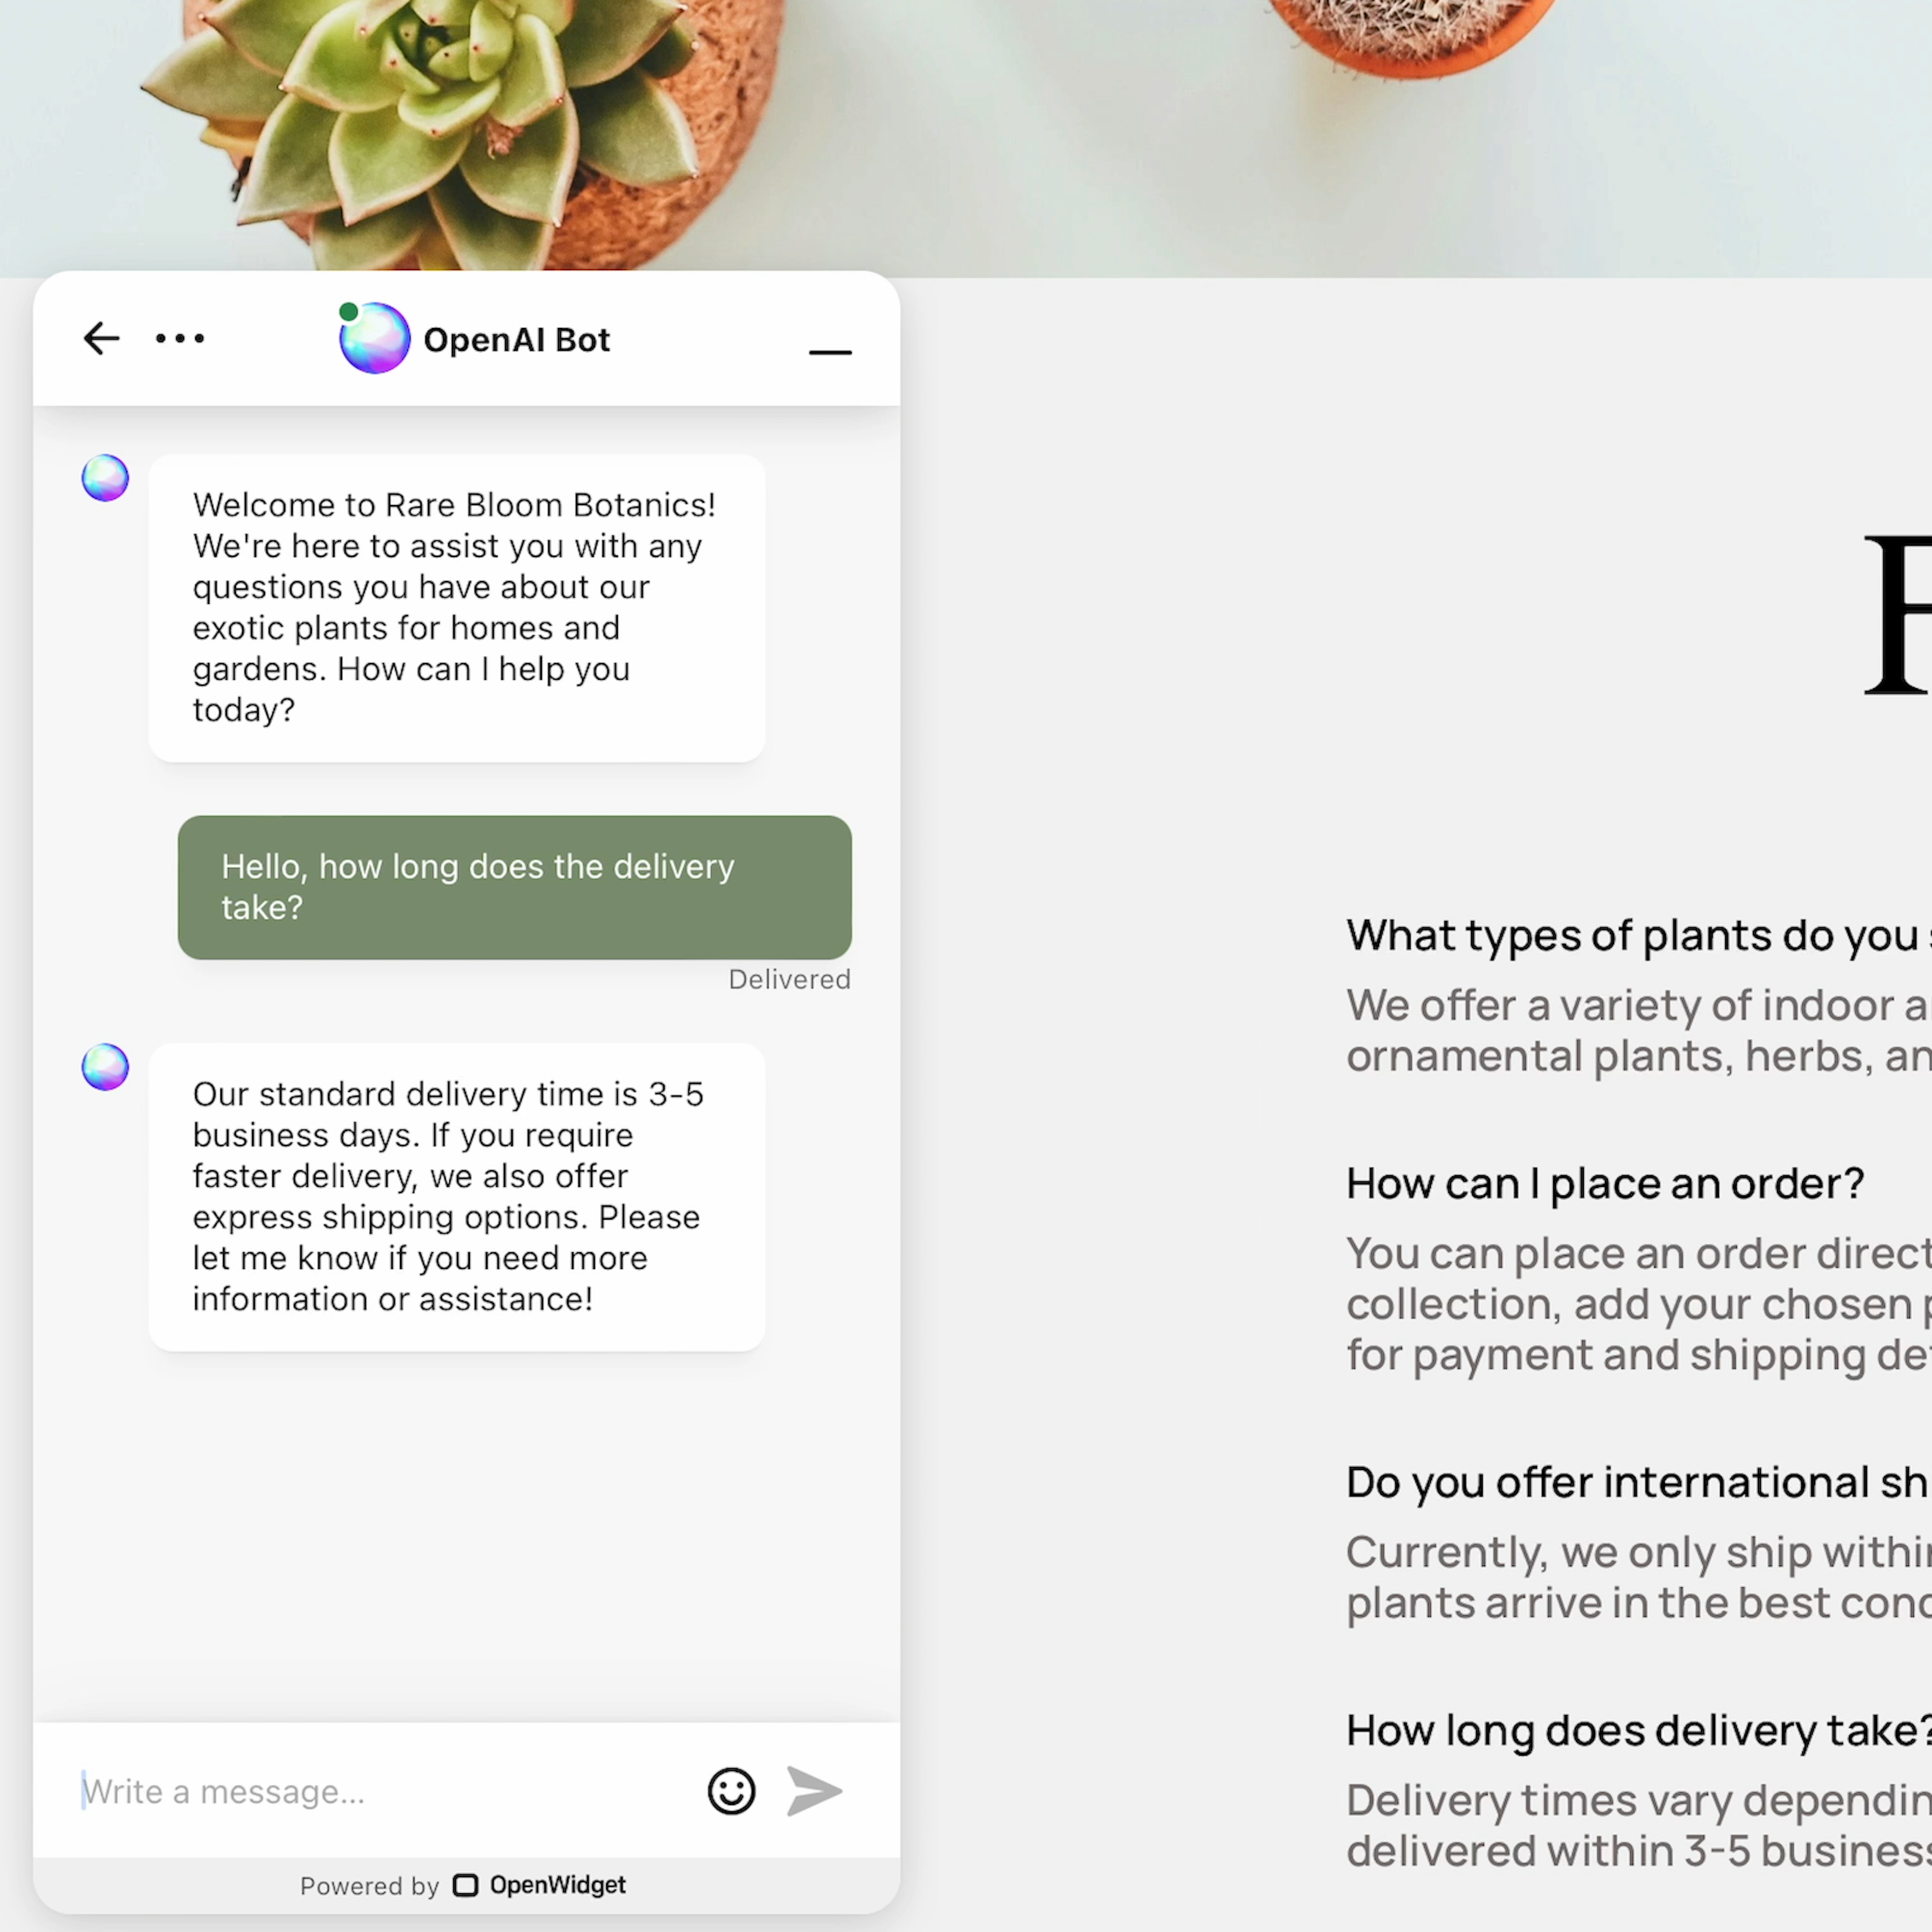
And that's it! From now on, OpenWidget's launcher with the Chat Interface for OpenAI Assistants will be available on your website. Your customers can use it to start a conversation with your Assistant and get round-the-clock support.
We also prepared a dedicated video tutorial that will not only show you how to connect your Assistant with the Chat Interface but also how to create the assistant itself! Feel free to check it out: